14x Hexagon LED Lighting with Borders
Transform your space with our innovative hexagon led lighting, the perfect solution for garages, gyms, workshops and more.
14x Hexagon LED Lighting with Borders
Transform your space with our innovative hexagon led lighting, the perfect solution for garages, gyms, workshops and more.
Product Information
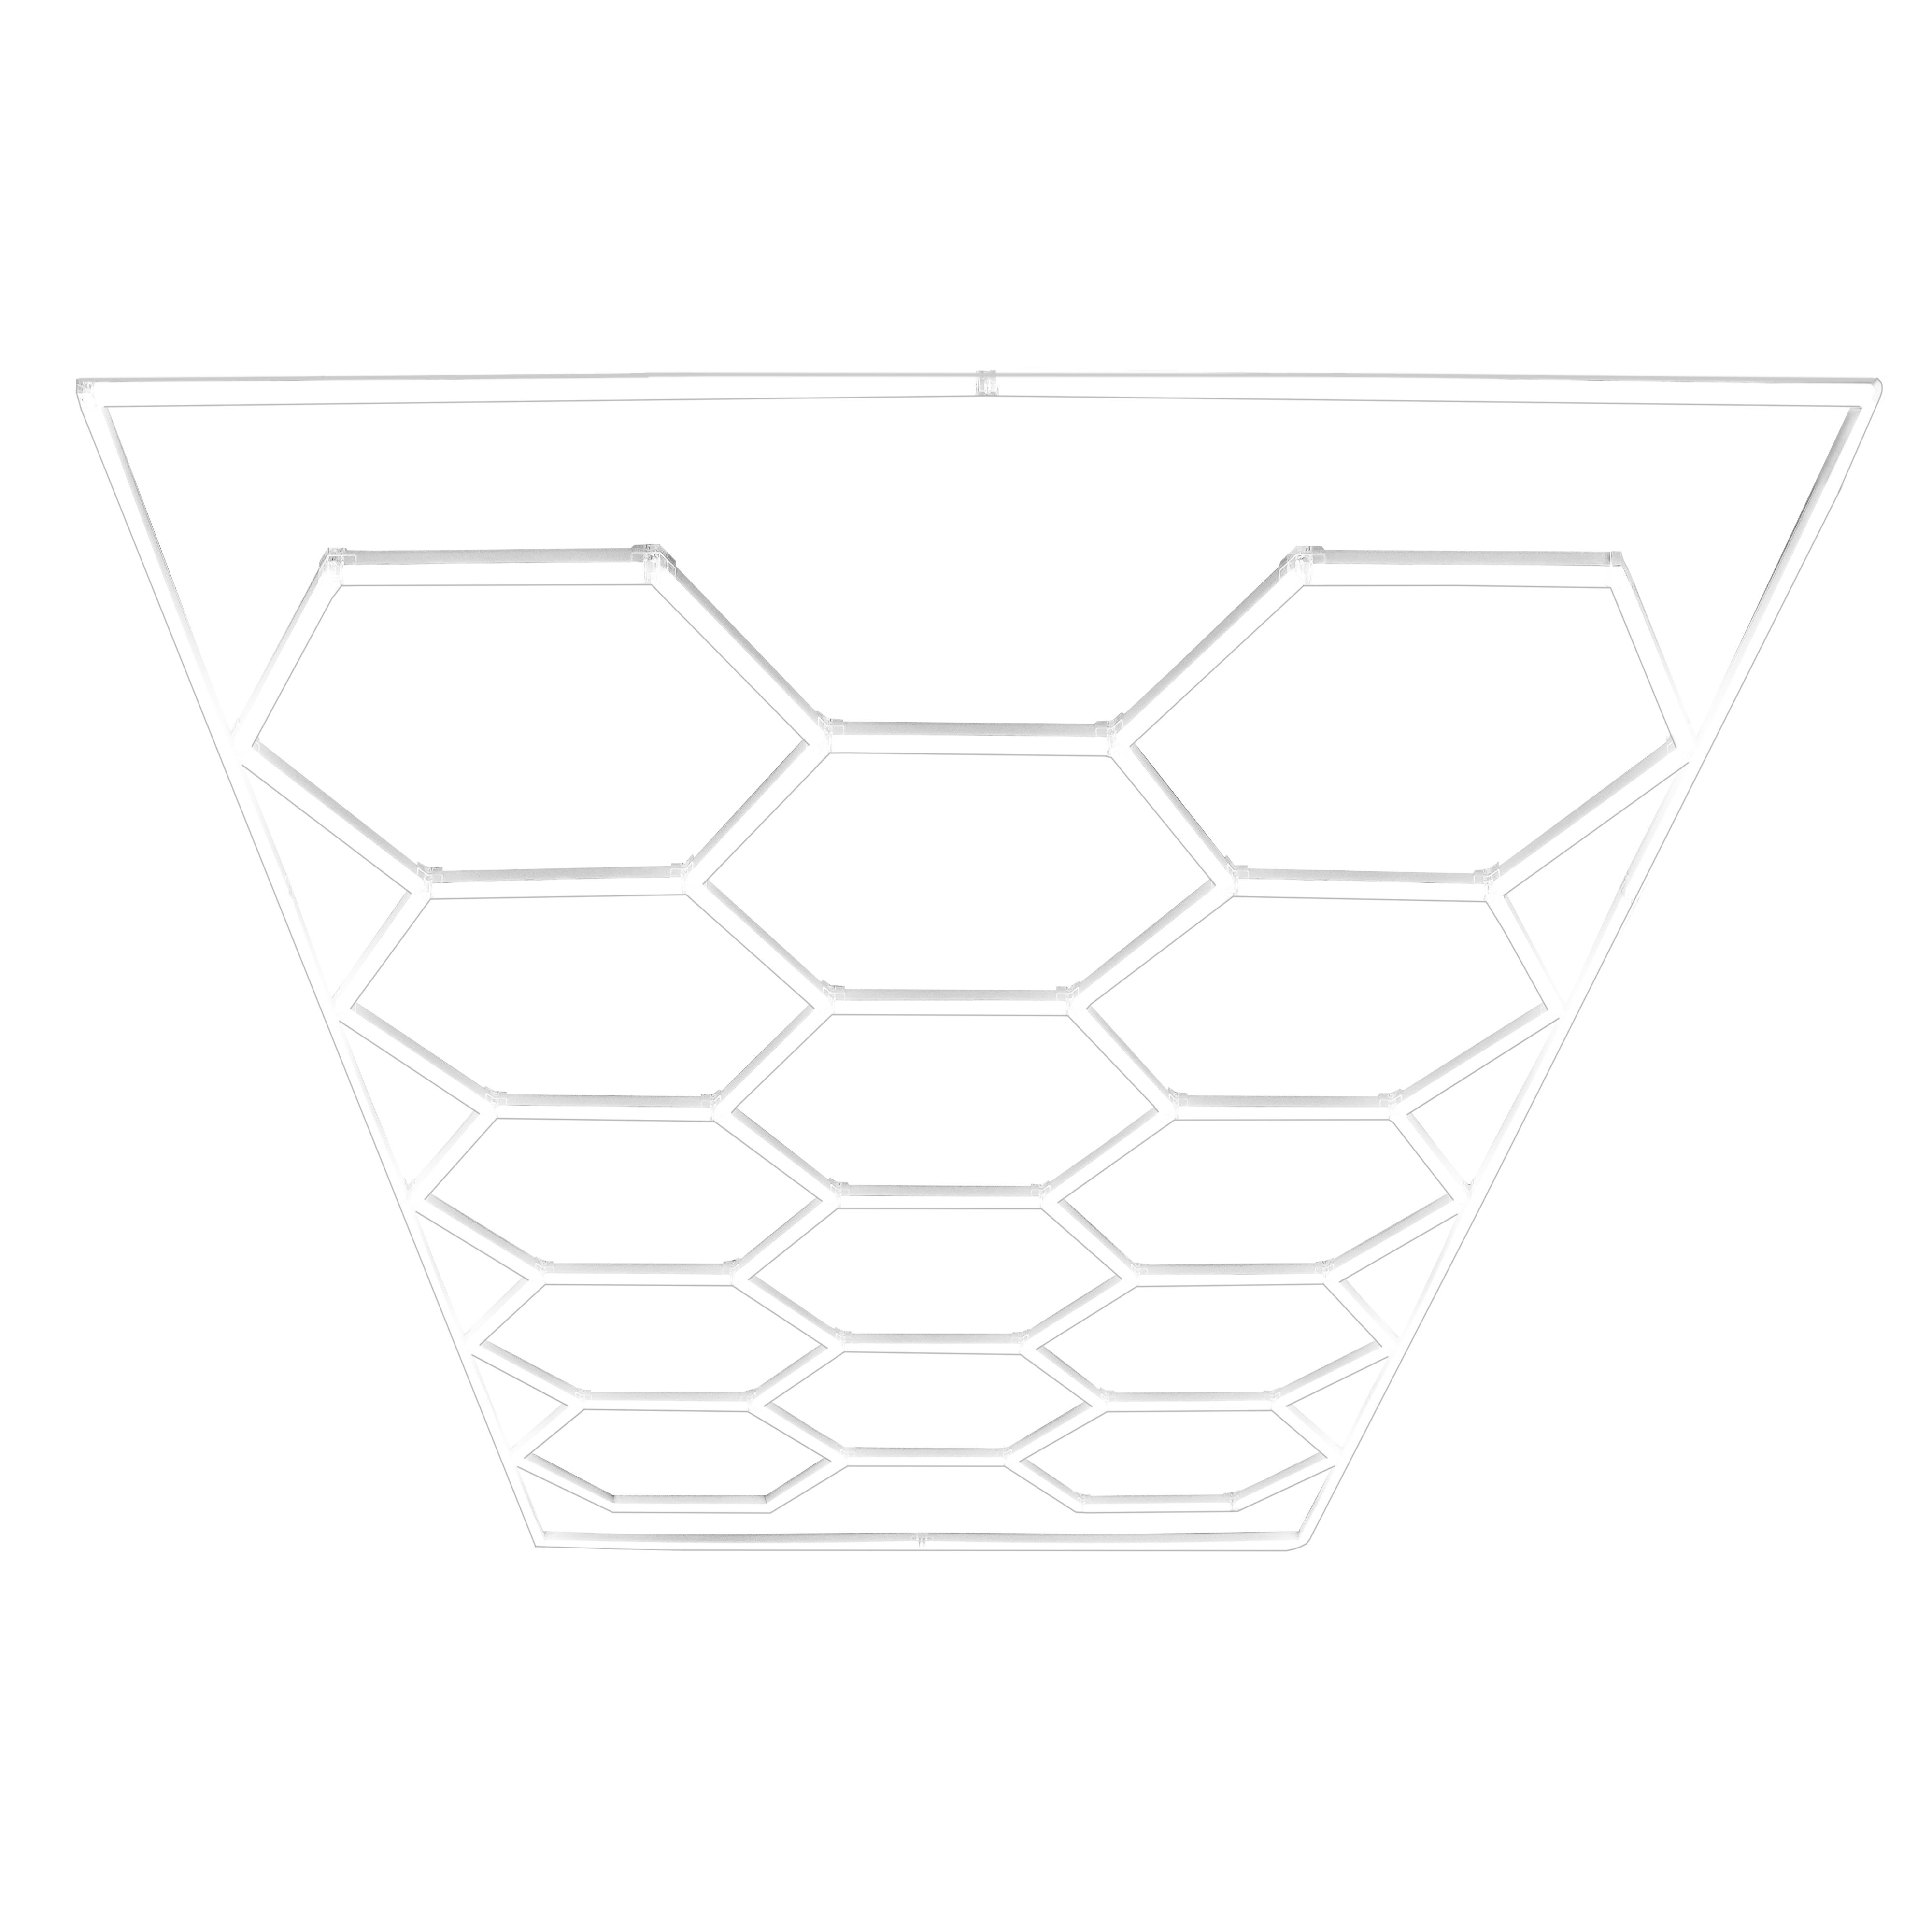
These 14 honeycomb-shaped LED lights and border not only create a stunning visual effect but also deliver bright, pure white illumination that enhances any environment. With a colour temperature of 6000K and 1700 lumens per panel, our hexagon lighting provides optimal brightness, making it perfect for detailed tasks in workshops or creating a welcoming atmosphere in salons.
Safety Information
Unit Overview
Introducing Monster Shop’s 10 Hexagon LED Lighting System: a versatile 2-in-1 lighting solution featuring ten hexagon lights with a stylish border for a modern, polished look. Designed for flexibility, the system can be used as a full set of 10 lights or split into two sets of five, adapting seamlessly to your space. Ideal for workshops, garages, and studios, it includes wall and ceiling mounting kits as well as a suspended ceiling kit for effortless installation. Elevate your lighting with this customisable and sophisticated solution.
Specification
Product Specifics:
- DIMENSIONS: 2430 x 4840mm
- POWER SOURCE: 100-230V AC, 50Hz, Class I
- RATING POWER INPUT: 6W
- PRODUCT WEIGHT: 8.3KG
- TEMPERATURE: 20-50°C
- RA: 90
- LUMEN: 110-120
- COLOUR TEMPERATURE: 6500K
Safety Advice
WARNING!
This product is Class I equipment and requires a proper grounding connection to ensure safety. It must be installed in accordance with local electrical codes that may dictate specific grounding procedures. Failure to ground this product correctly could increase the risk of electric shock.
- Ensure you have read and fully understood the instruction manual and safety advice before using this product.
- Indoor use only. Do not use this product in outdoor or damp environments, including bathrooms or other areas with high humidity.
- To avoid creating a trip hazard and potential damage to the wiring during installation, ensure the cables are not overstretched, twisted, or positioned in high-traffic areas where they can be damaged.
- Ensure the power supply is disconnected at the mains while installing, cleaning, or performing any maintenance on the product.
- Ensure there is adequate ventilation around the light fixture to prevent overheating. Do not cover the light fixture with any material, including cloth, paper, or other obstructions, as this can block airflow and increase the risk of fire.
- LED lights emit minimal heat but can still pose a fire risk if placed in contact with flammable materials. Keep the light fixture away from curtains, paper, aerosols, or other flammable items.
- Do not hang any items or apply external weight or pressure to the light fixture as this may compromise its structural integrity.
- Inspect the product regularly for any visible damage, including cracks in the light fixture or exposed wiring. Do not use the product if any damage is identified, and contact a qualified professional for repairs.
- Dispose of the product, including its electronic and LED components, responsibly and in accordance with local regulations. Do not dispose of with household waste.
- Keep the product and its components out of reach of children and pets. Ensure that children, vulnerable persons, and pets are supervised when they are in the vicinity of the light fixture.
- Before installation, ensure the mounting surface (e.g., ceiling or wall) can support the weight of the light fixture. If unsure, consult a qualified professional to assess the surface and recommend suitable fixtures and fittings.
- Use only the fixtures and fittings supplied with the product or those recommended by the manufacturer. Ensure all screws and mounting components are securely fastened to prevent the fixture from detaching.
- Do not connect this product to an overloaded electrical circuit as it may result in a risk of fire or electric shock. Ensure that the electrical supply matches the voltage and wattage requirements specified for this LED product.
- All electrical connections must be performed by a qualified electrician to ensure safe and compliant installation. Do not attempt to wire the product into the mains unless you are licensed and trained to do so.
- Handle all components, including the light fixture and mounting hardware, with care during installation to avoid damage.
GPSR Information
UK GPSR Information
Monster House 19-23 Alan Farnaby Way
Industrial Estate Sheriff Hutton
York YO60 6PG
England
+441347878880
Monster House 19-23 Alan Farnaby Way
Industrial Estate Sheriff Hutton
York YO60 6PG
England
+441347878880
EU GPSR Information
Van Heemskerckweg 28A & B
-
Venlo 5928LL
Netherlands
+441347878880
Van Heemskerckweg 28A & B
-
Venlo 5928LL
Netherlands
+441347878880
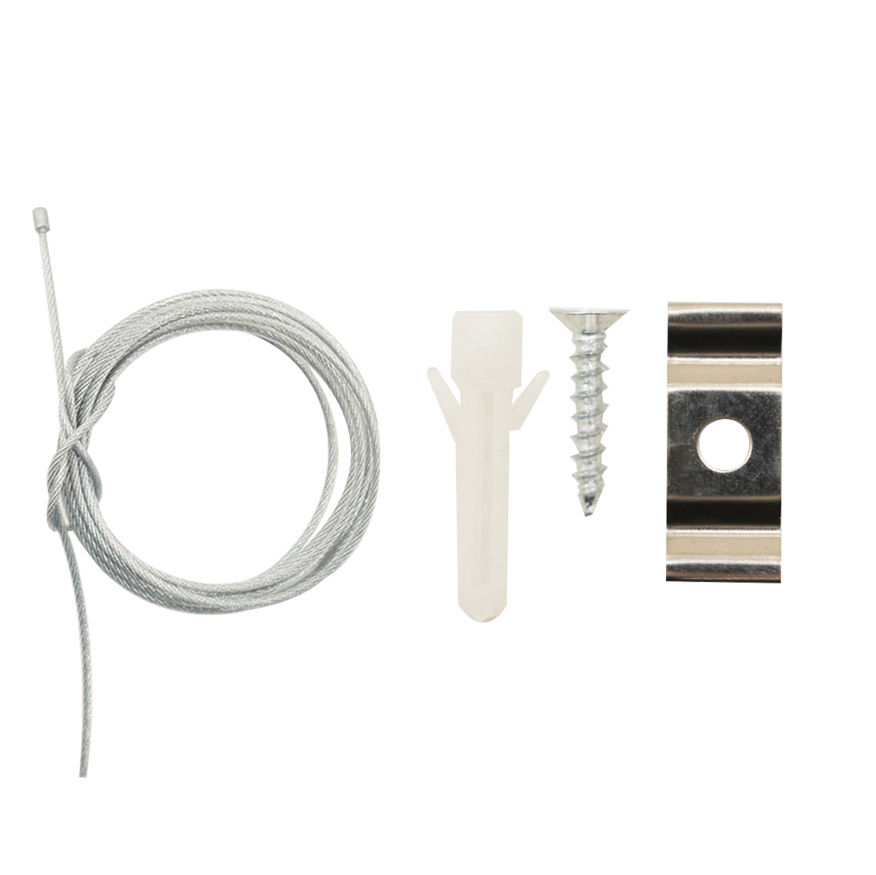
Included Parts

Walkthrough
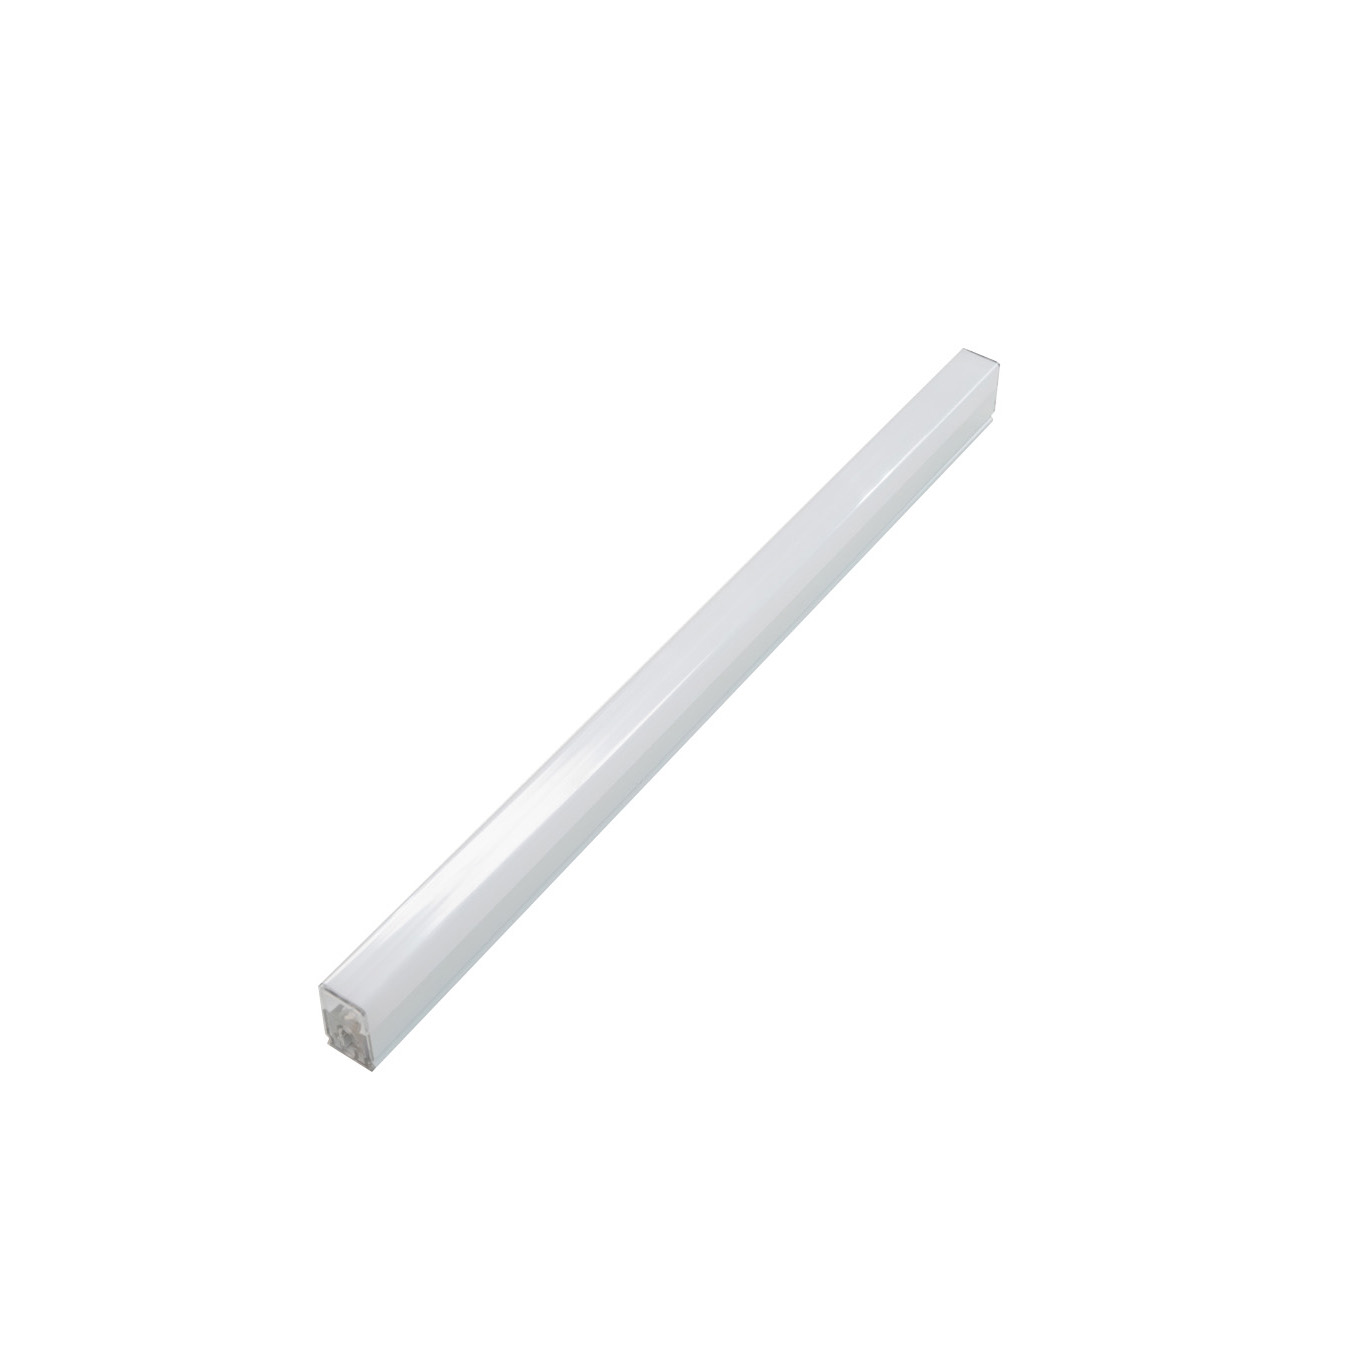
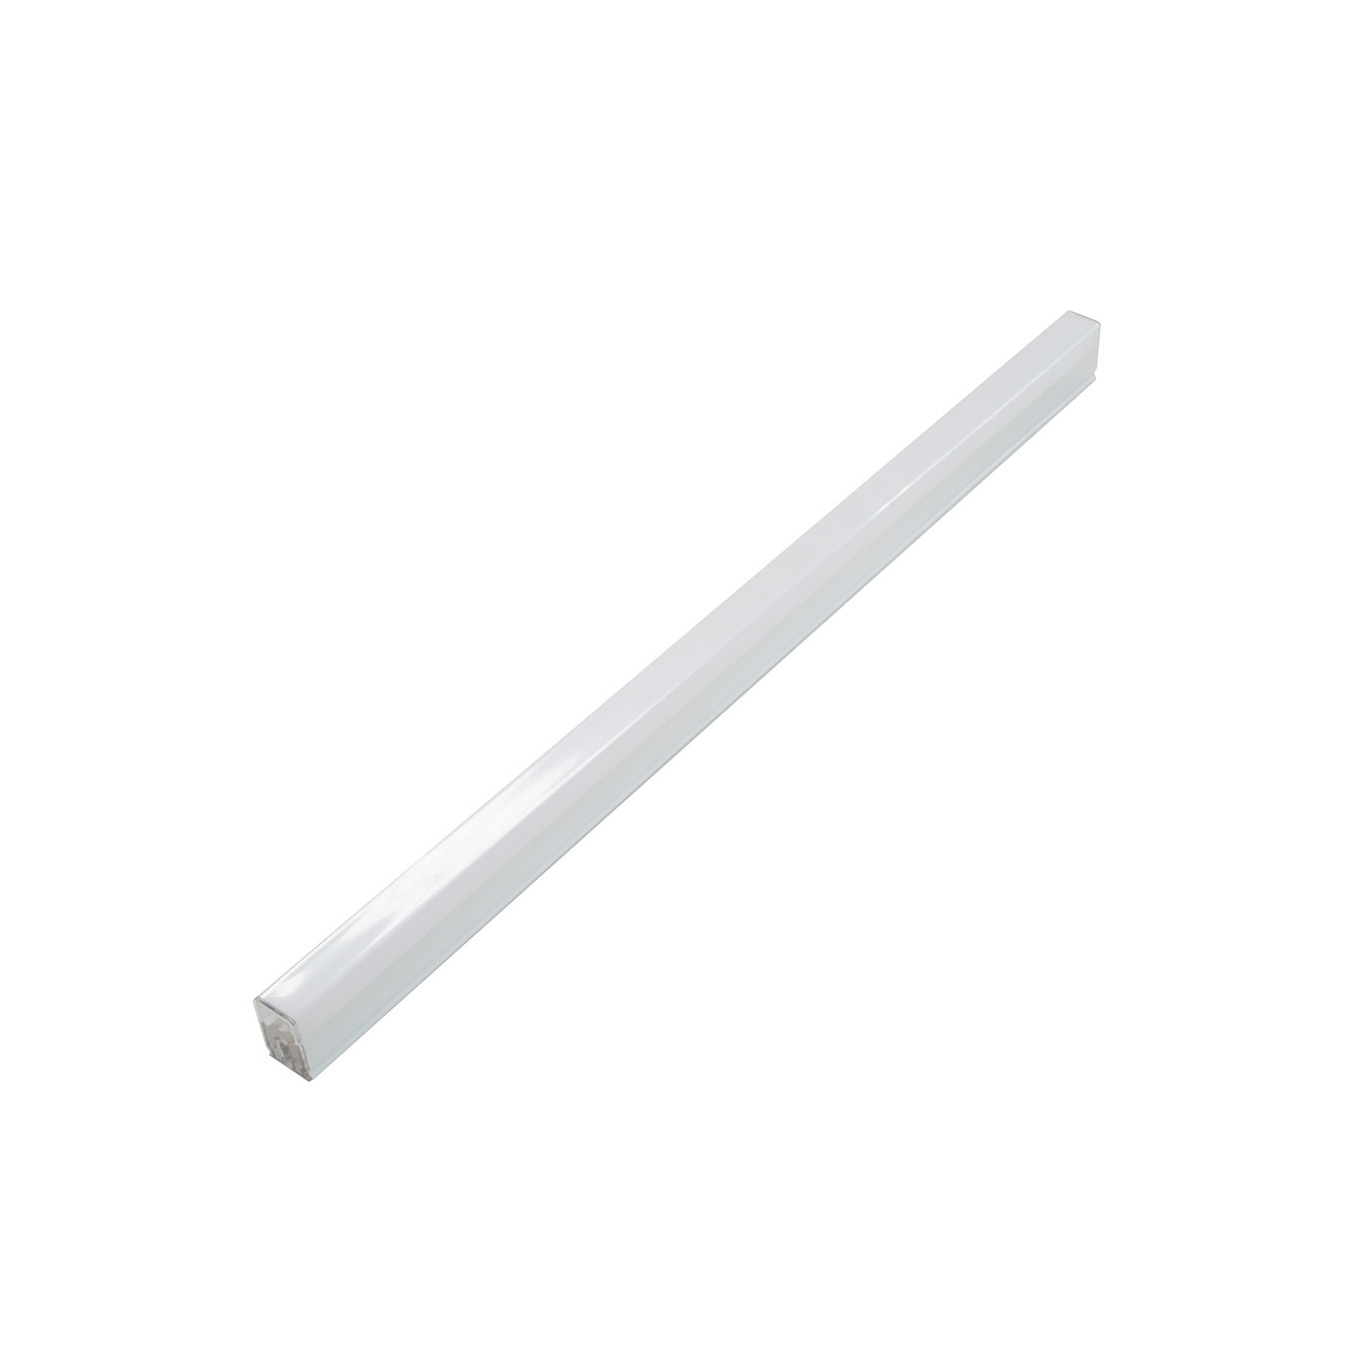
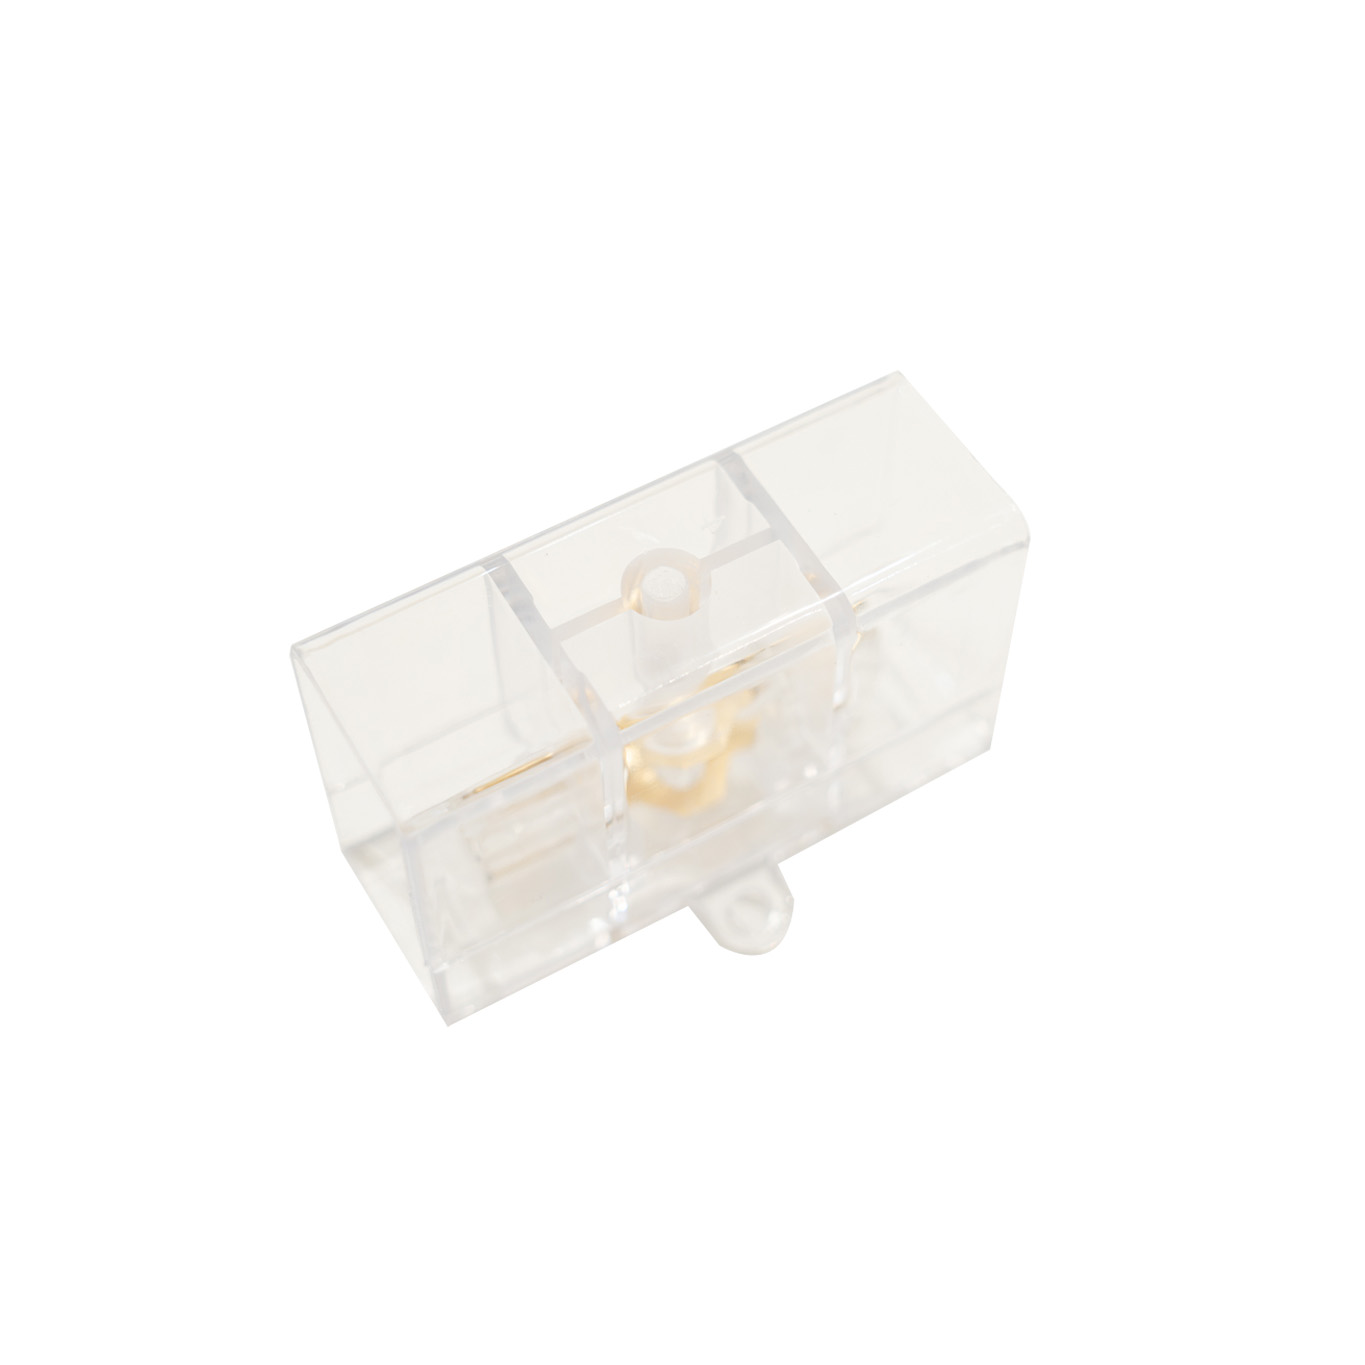
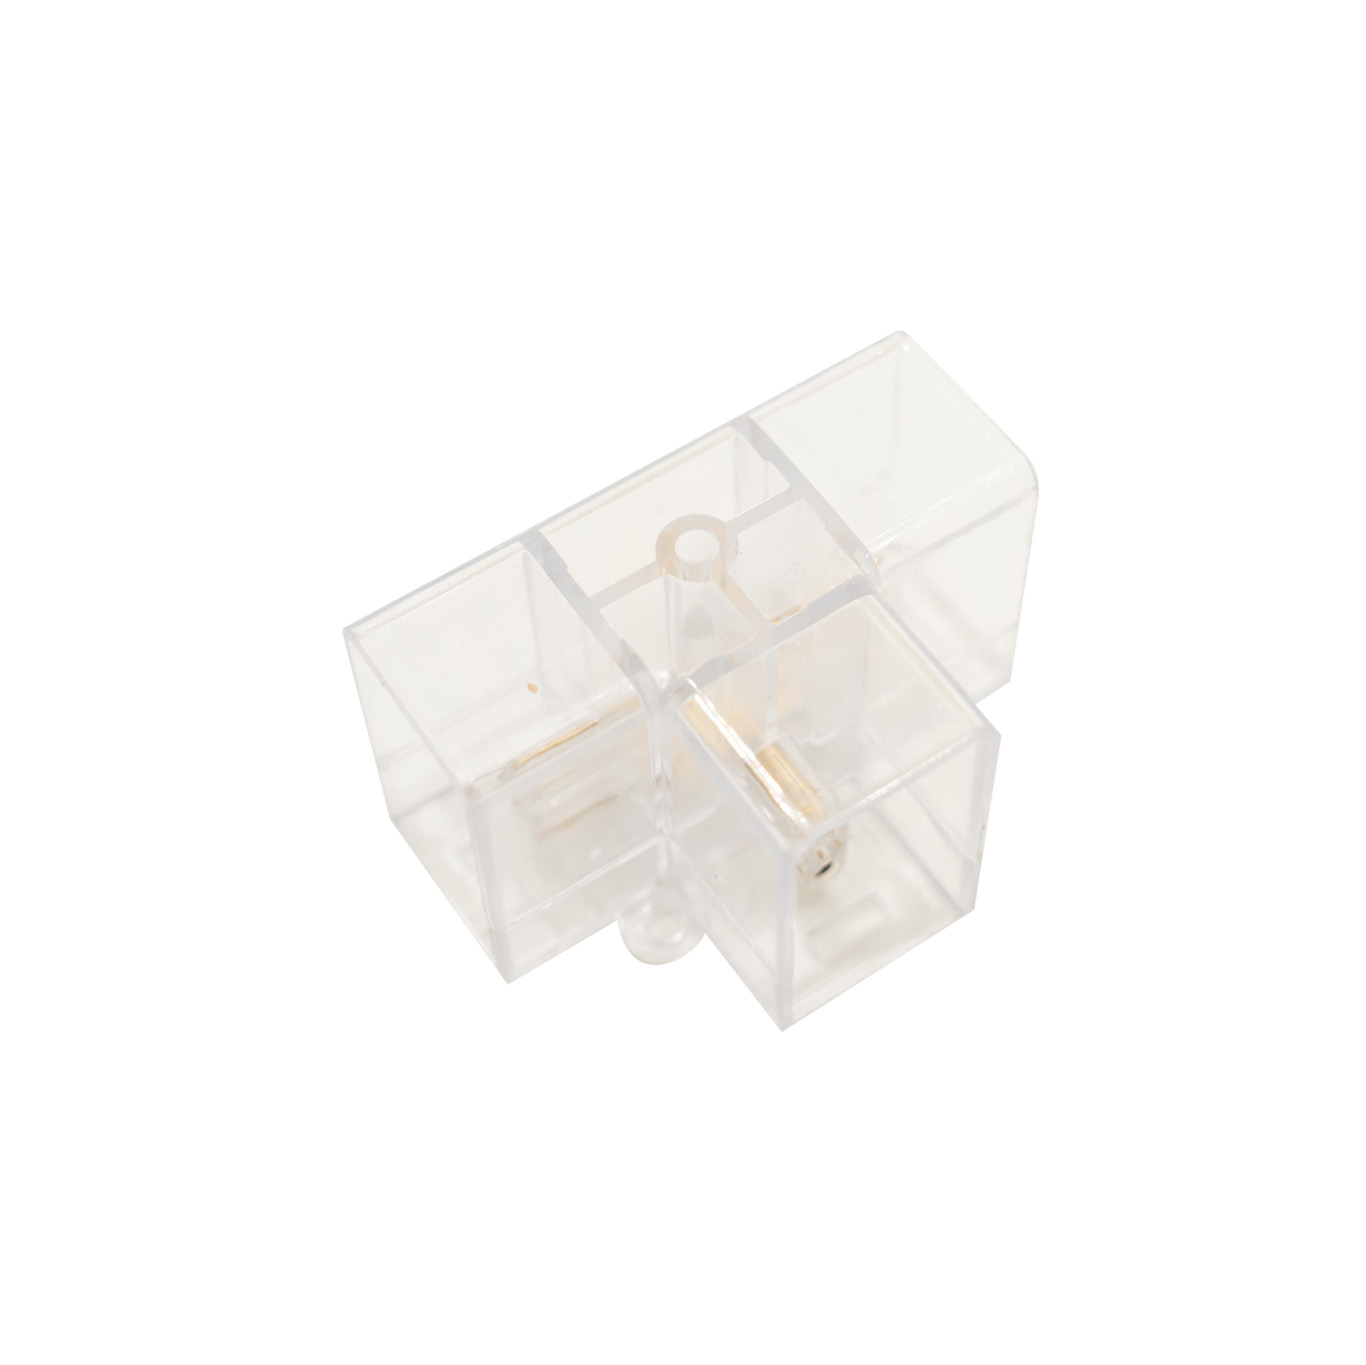
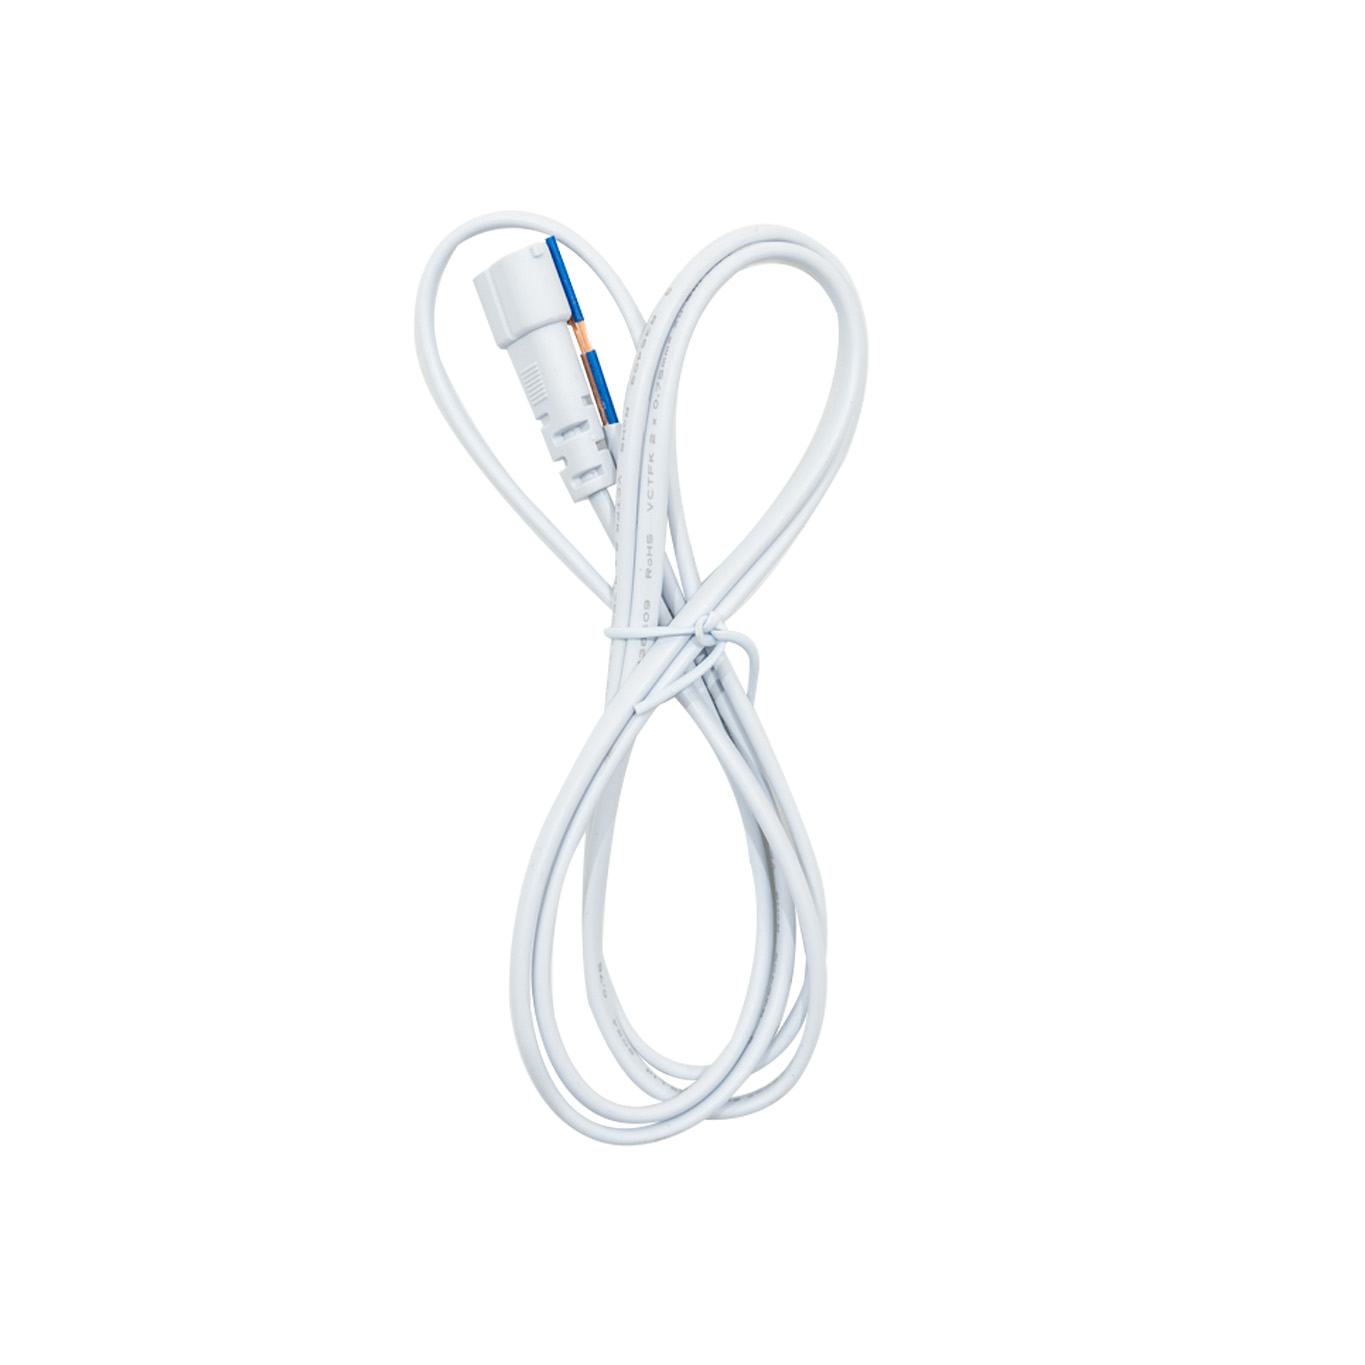
Begin by planning the entire lighting structure on the floor prior to mounting. We recommend laying it out before connecting it. The border should be constructed first, by joining the 1175mm LED tubes using the 180° straight and 90° corner two-way connectors. Install a T connector at the corner of the border designated for a power cable connection to the power supply. Ensure the tubes are fully inserted into the connectors for a secure fit.
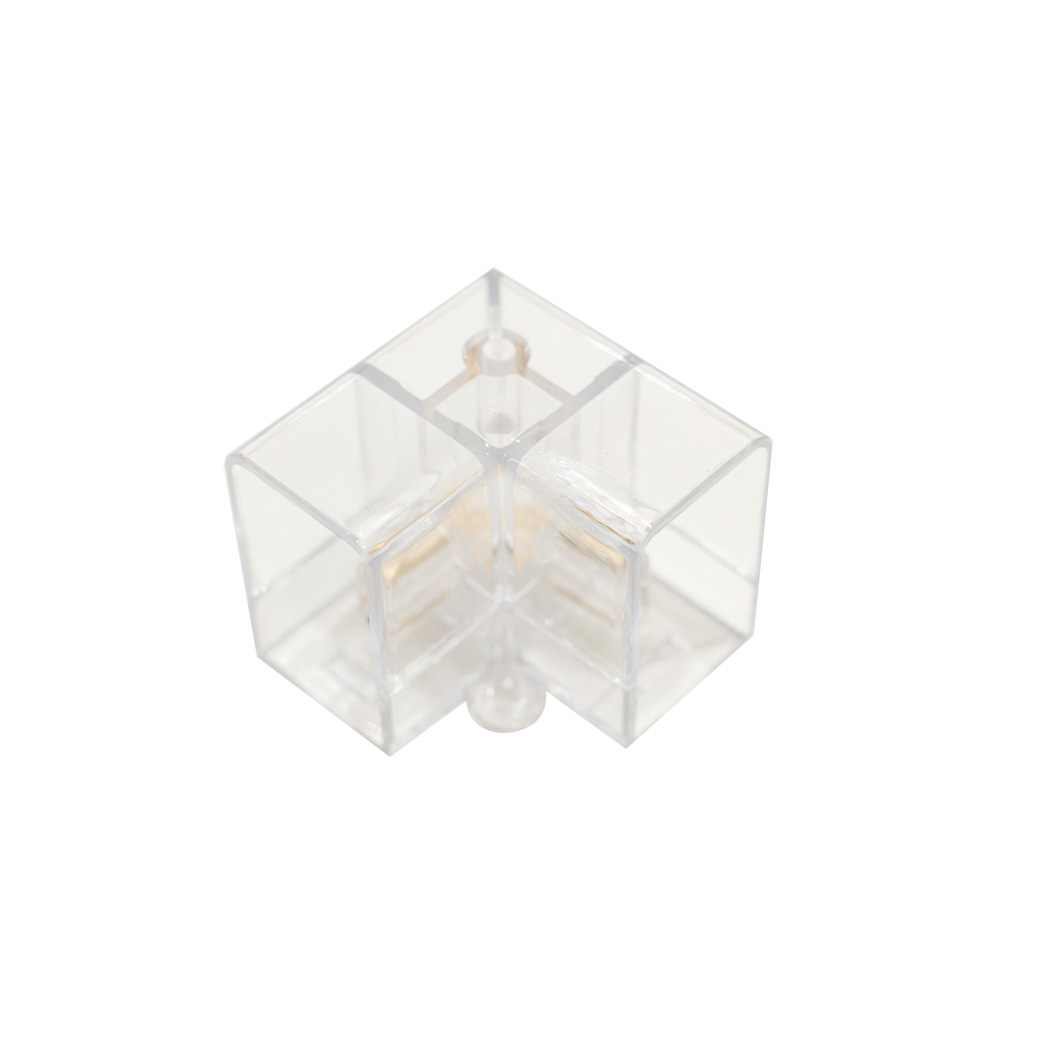
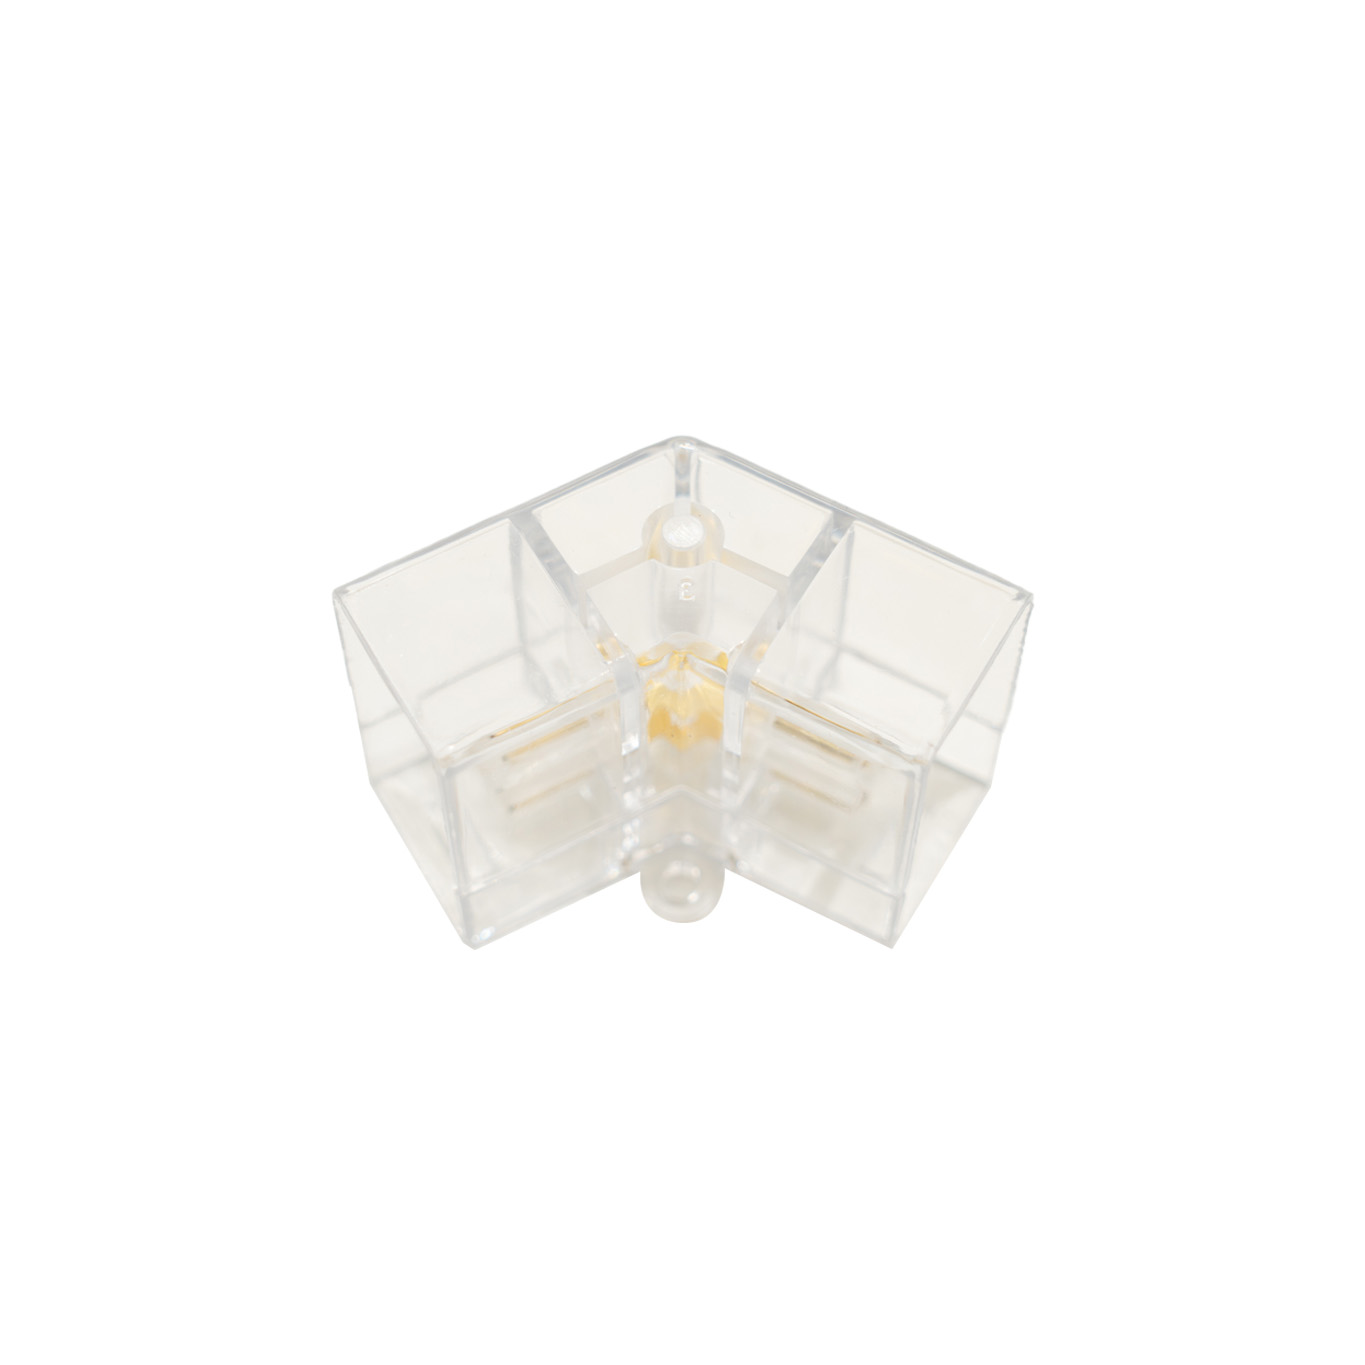
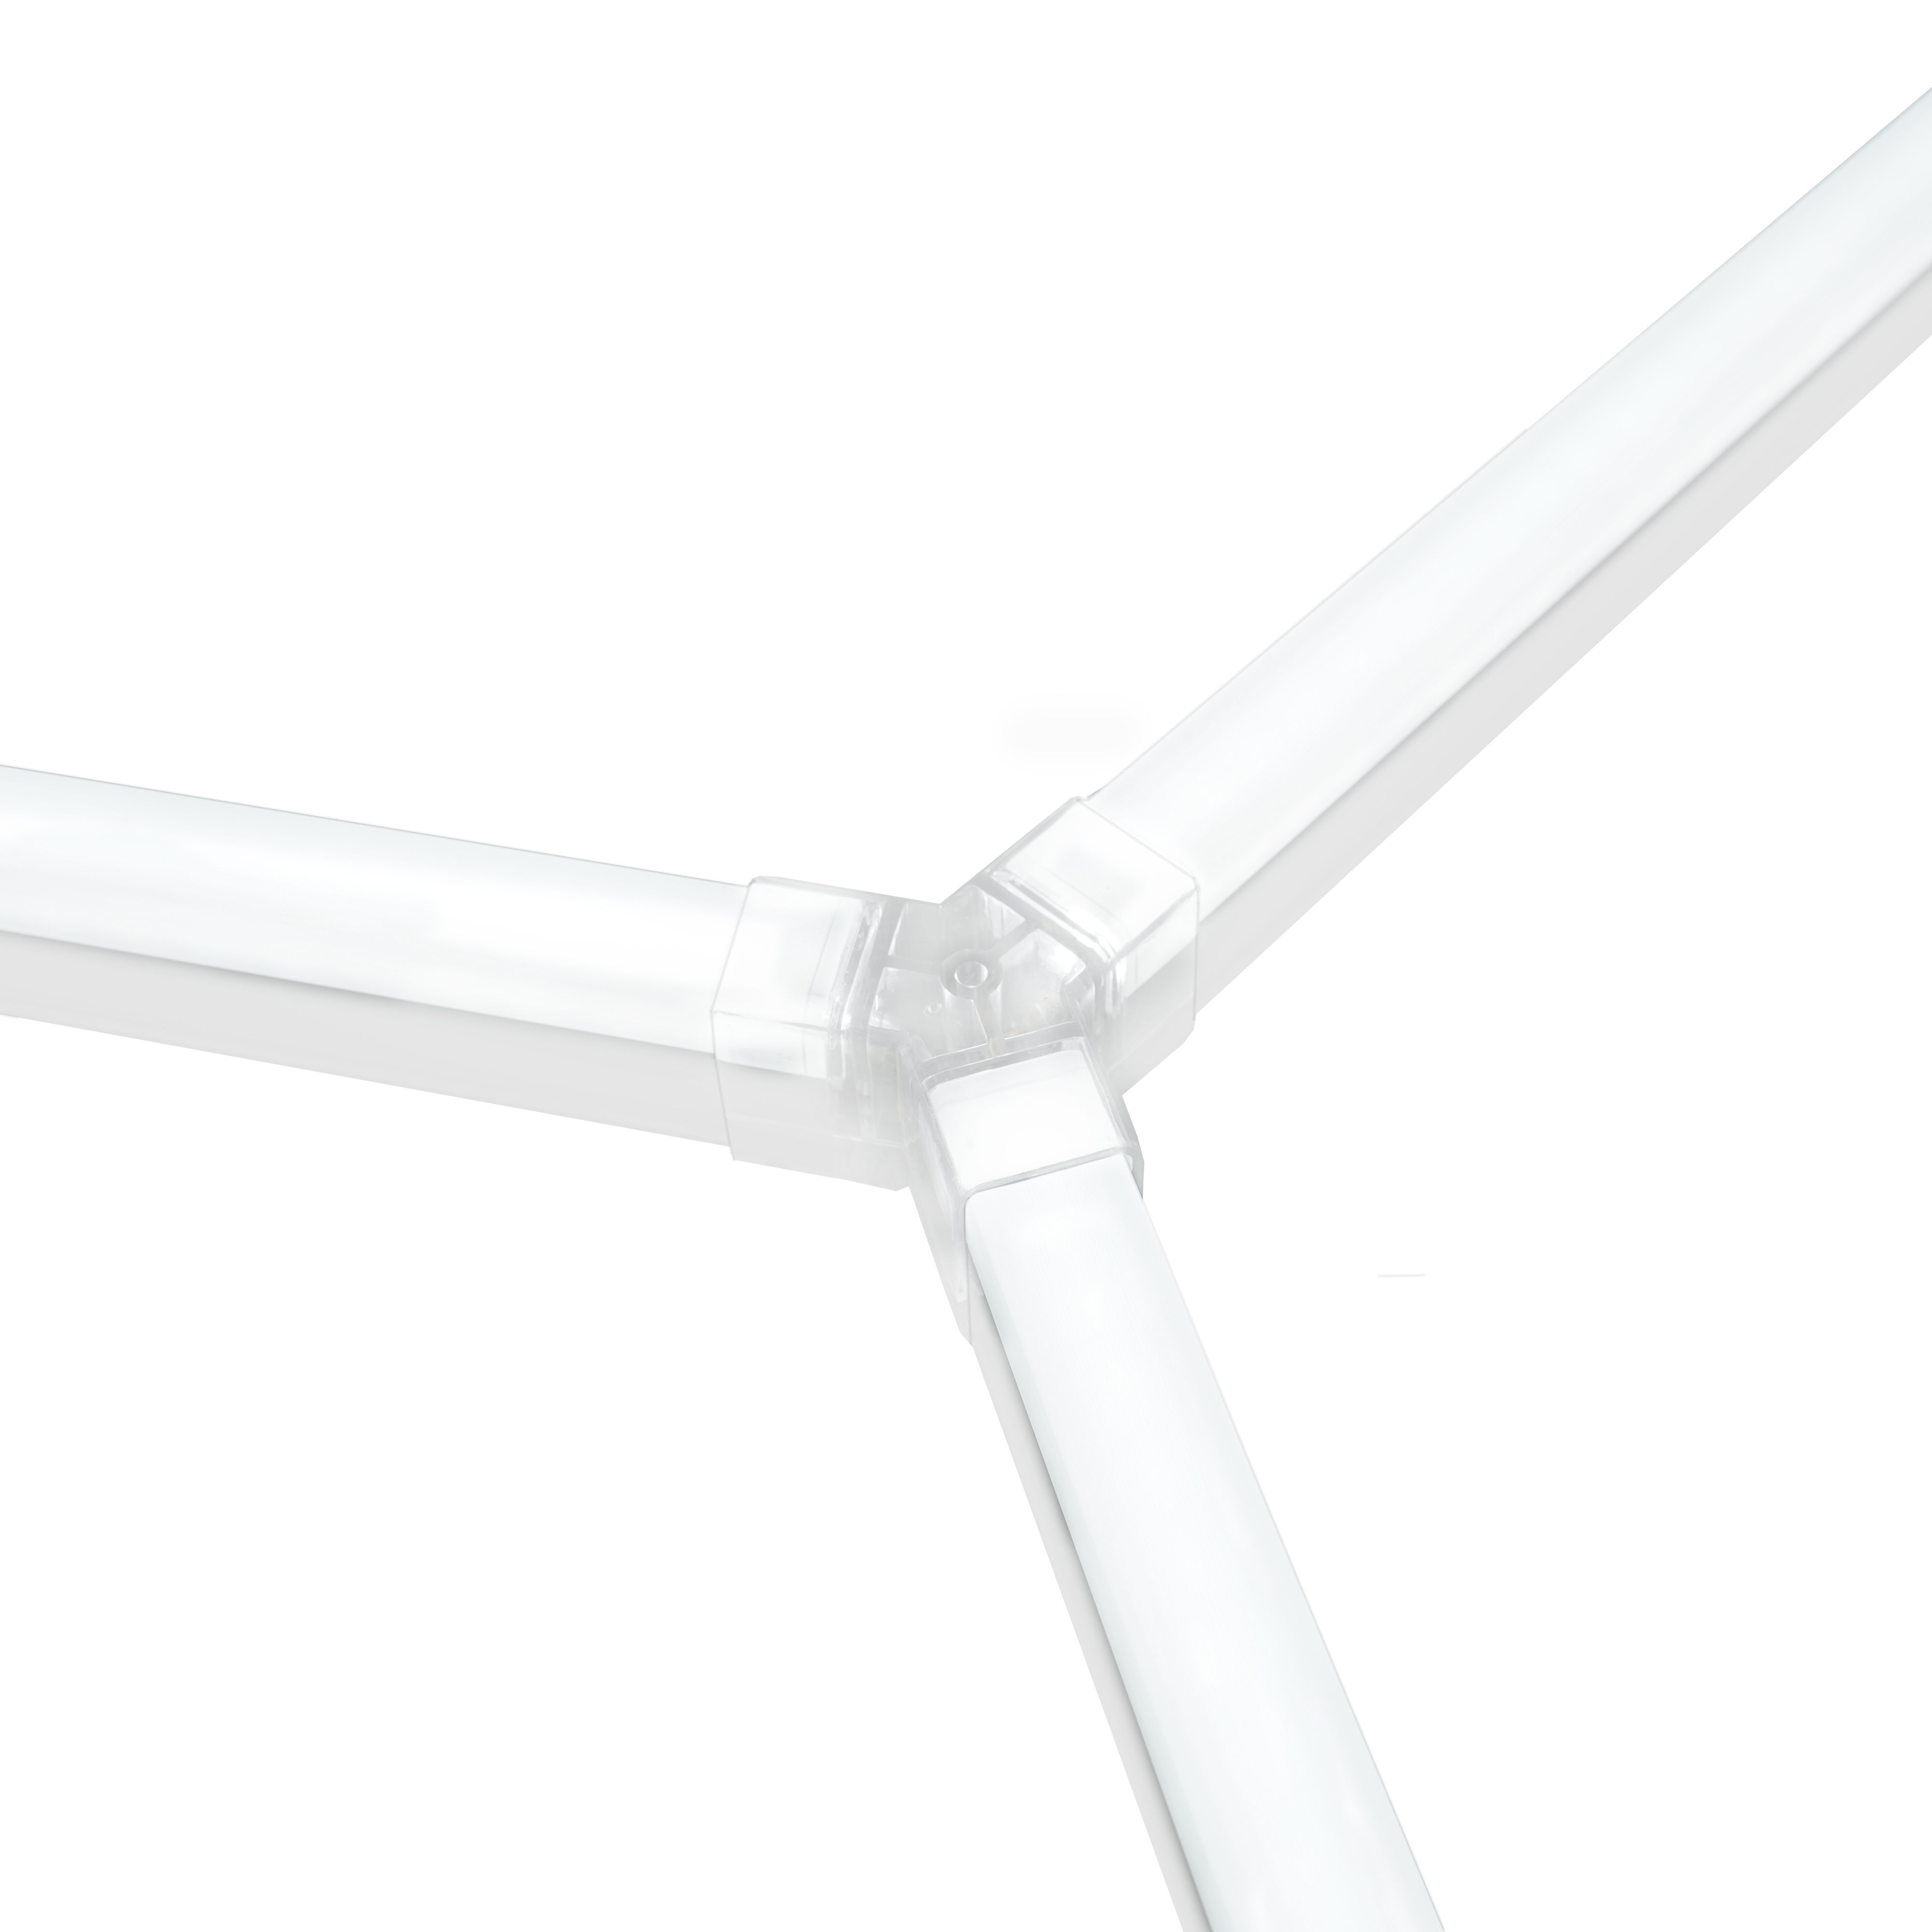
Now, start forming each hexagonal shape by connecting the 440mm LED tubes with 120° and 360° Y two-way connectors according to the pattern you desire. Ensure a 360° Y two-way connector in installed on the corner of one hexagon to allow for the second power cable connection.
Raise and install to the ceiling either as a single unit or in separate sections. Use the appropriate wall plugs and screws to fix it to the ceiling, inserting them through the holes in the connectors.
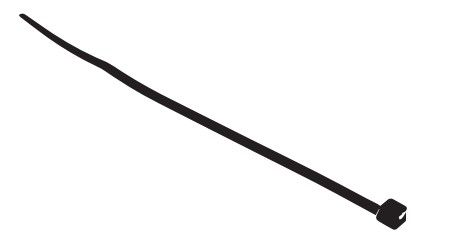
Secure the lighting structure evenly to the grids by threading the provided cable ties through the connector holes and fastening them tightly around the grid mesh.
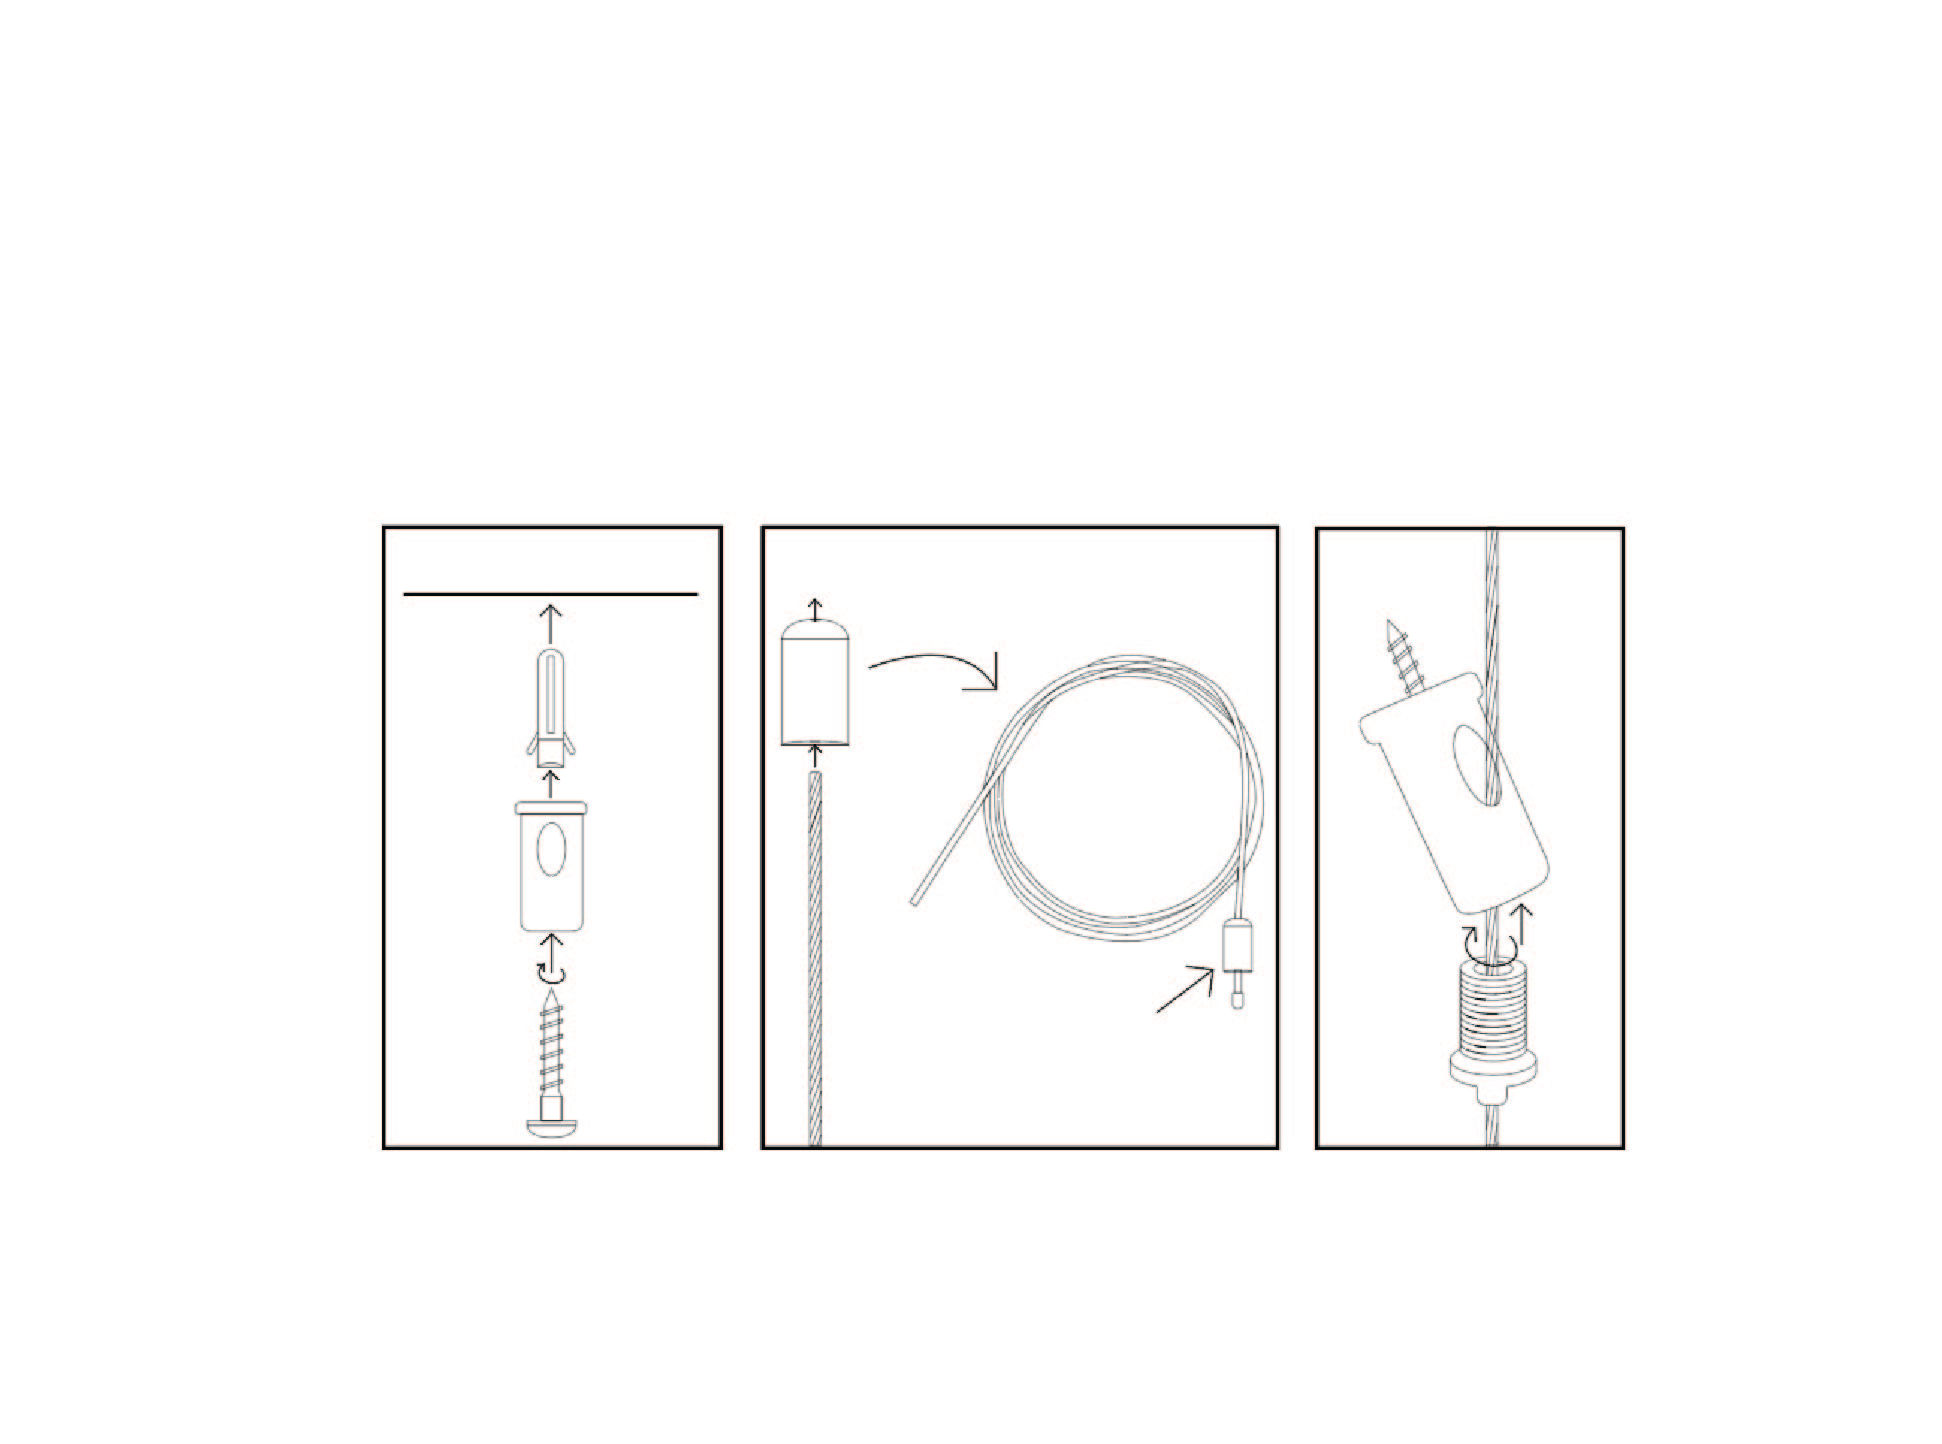

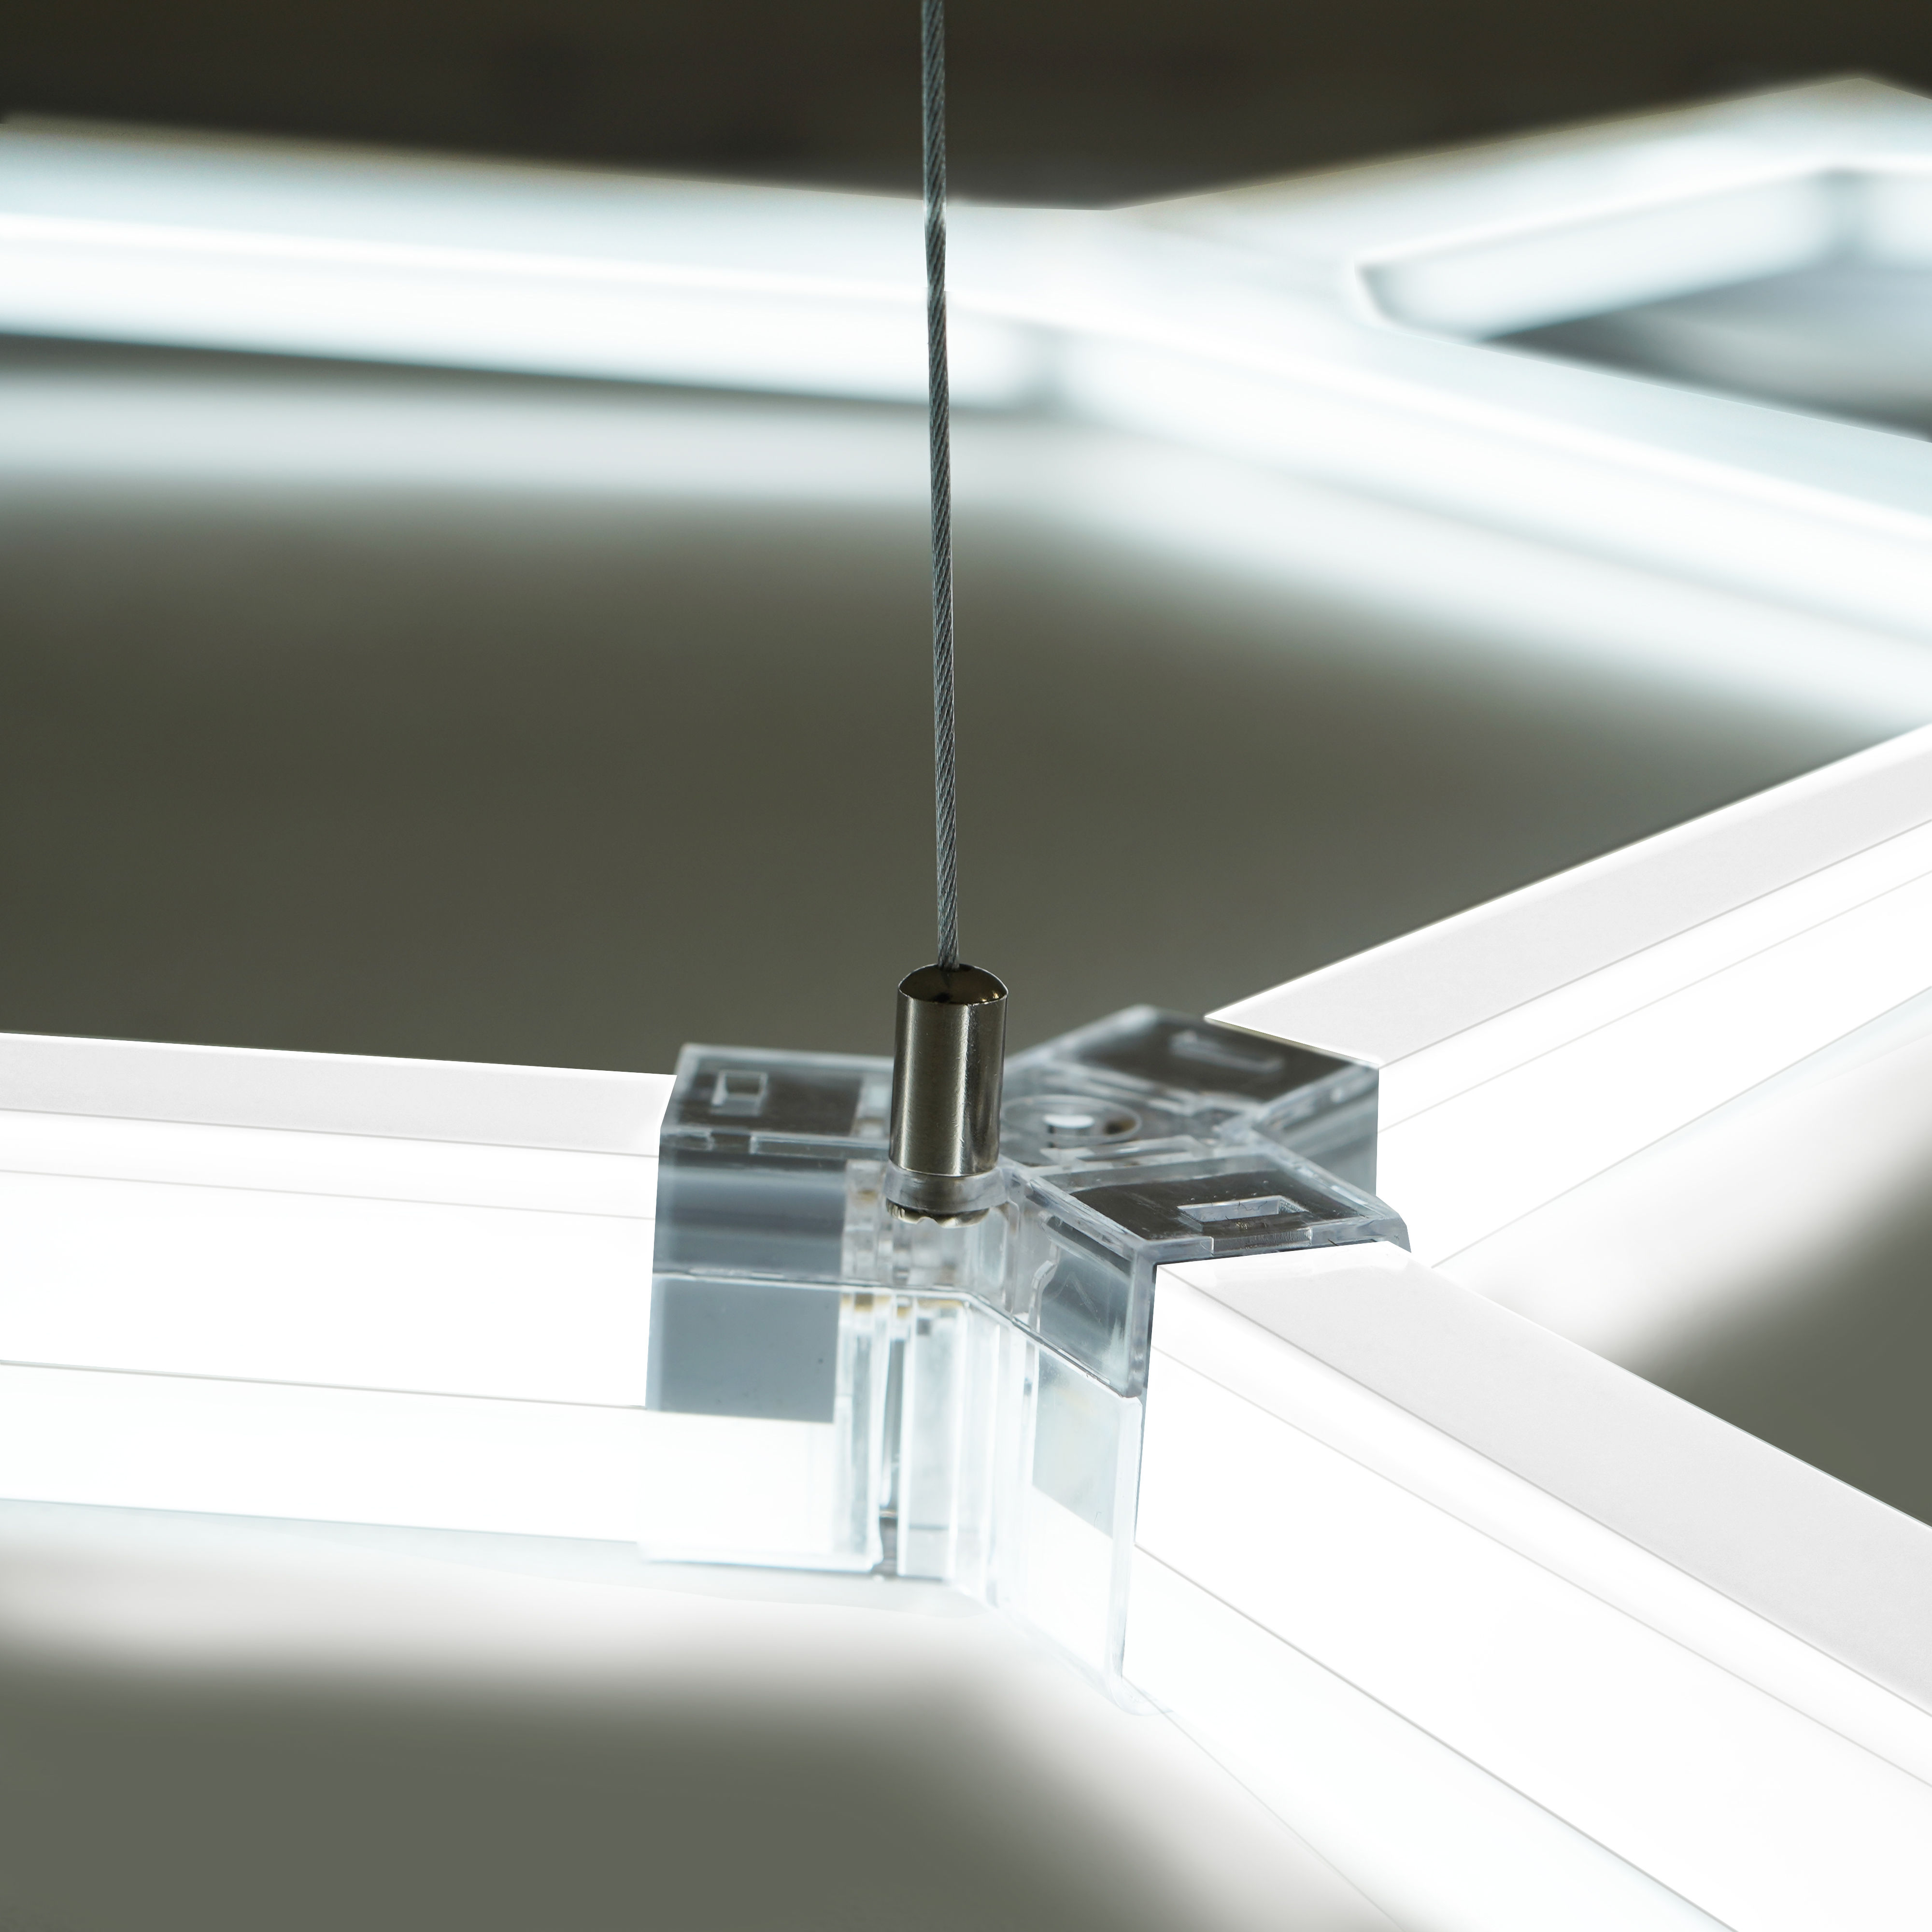
- Make sure the ceiling suspension kit is attached uniformly across the LED light assembly to achieve an even distribution of weight.
- Begin by laying out one suspension kit in the desired area for installation. Follow the diagrams below for each kit.
- Clean the light fixture with a dry or slightly damp cloth. Do not use harsh chemicals or abrasive cleaners as they may damage the finish.
Troubleshooting
If there appears to be any part missing from your order, contact our friendly and helpful Customer Support Team within 7 days of receipt.
*