7-in-1 Games Table Bench
Instructions for assembling, installing, and using the 7-in-1 Games Table bench. It includes safety advice, operational guidelines, and maintenance tips.
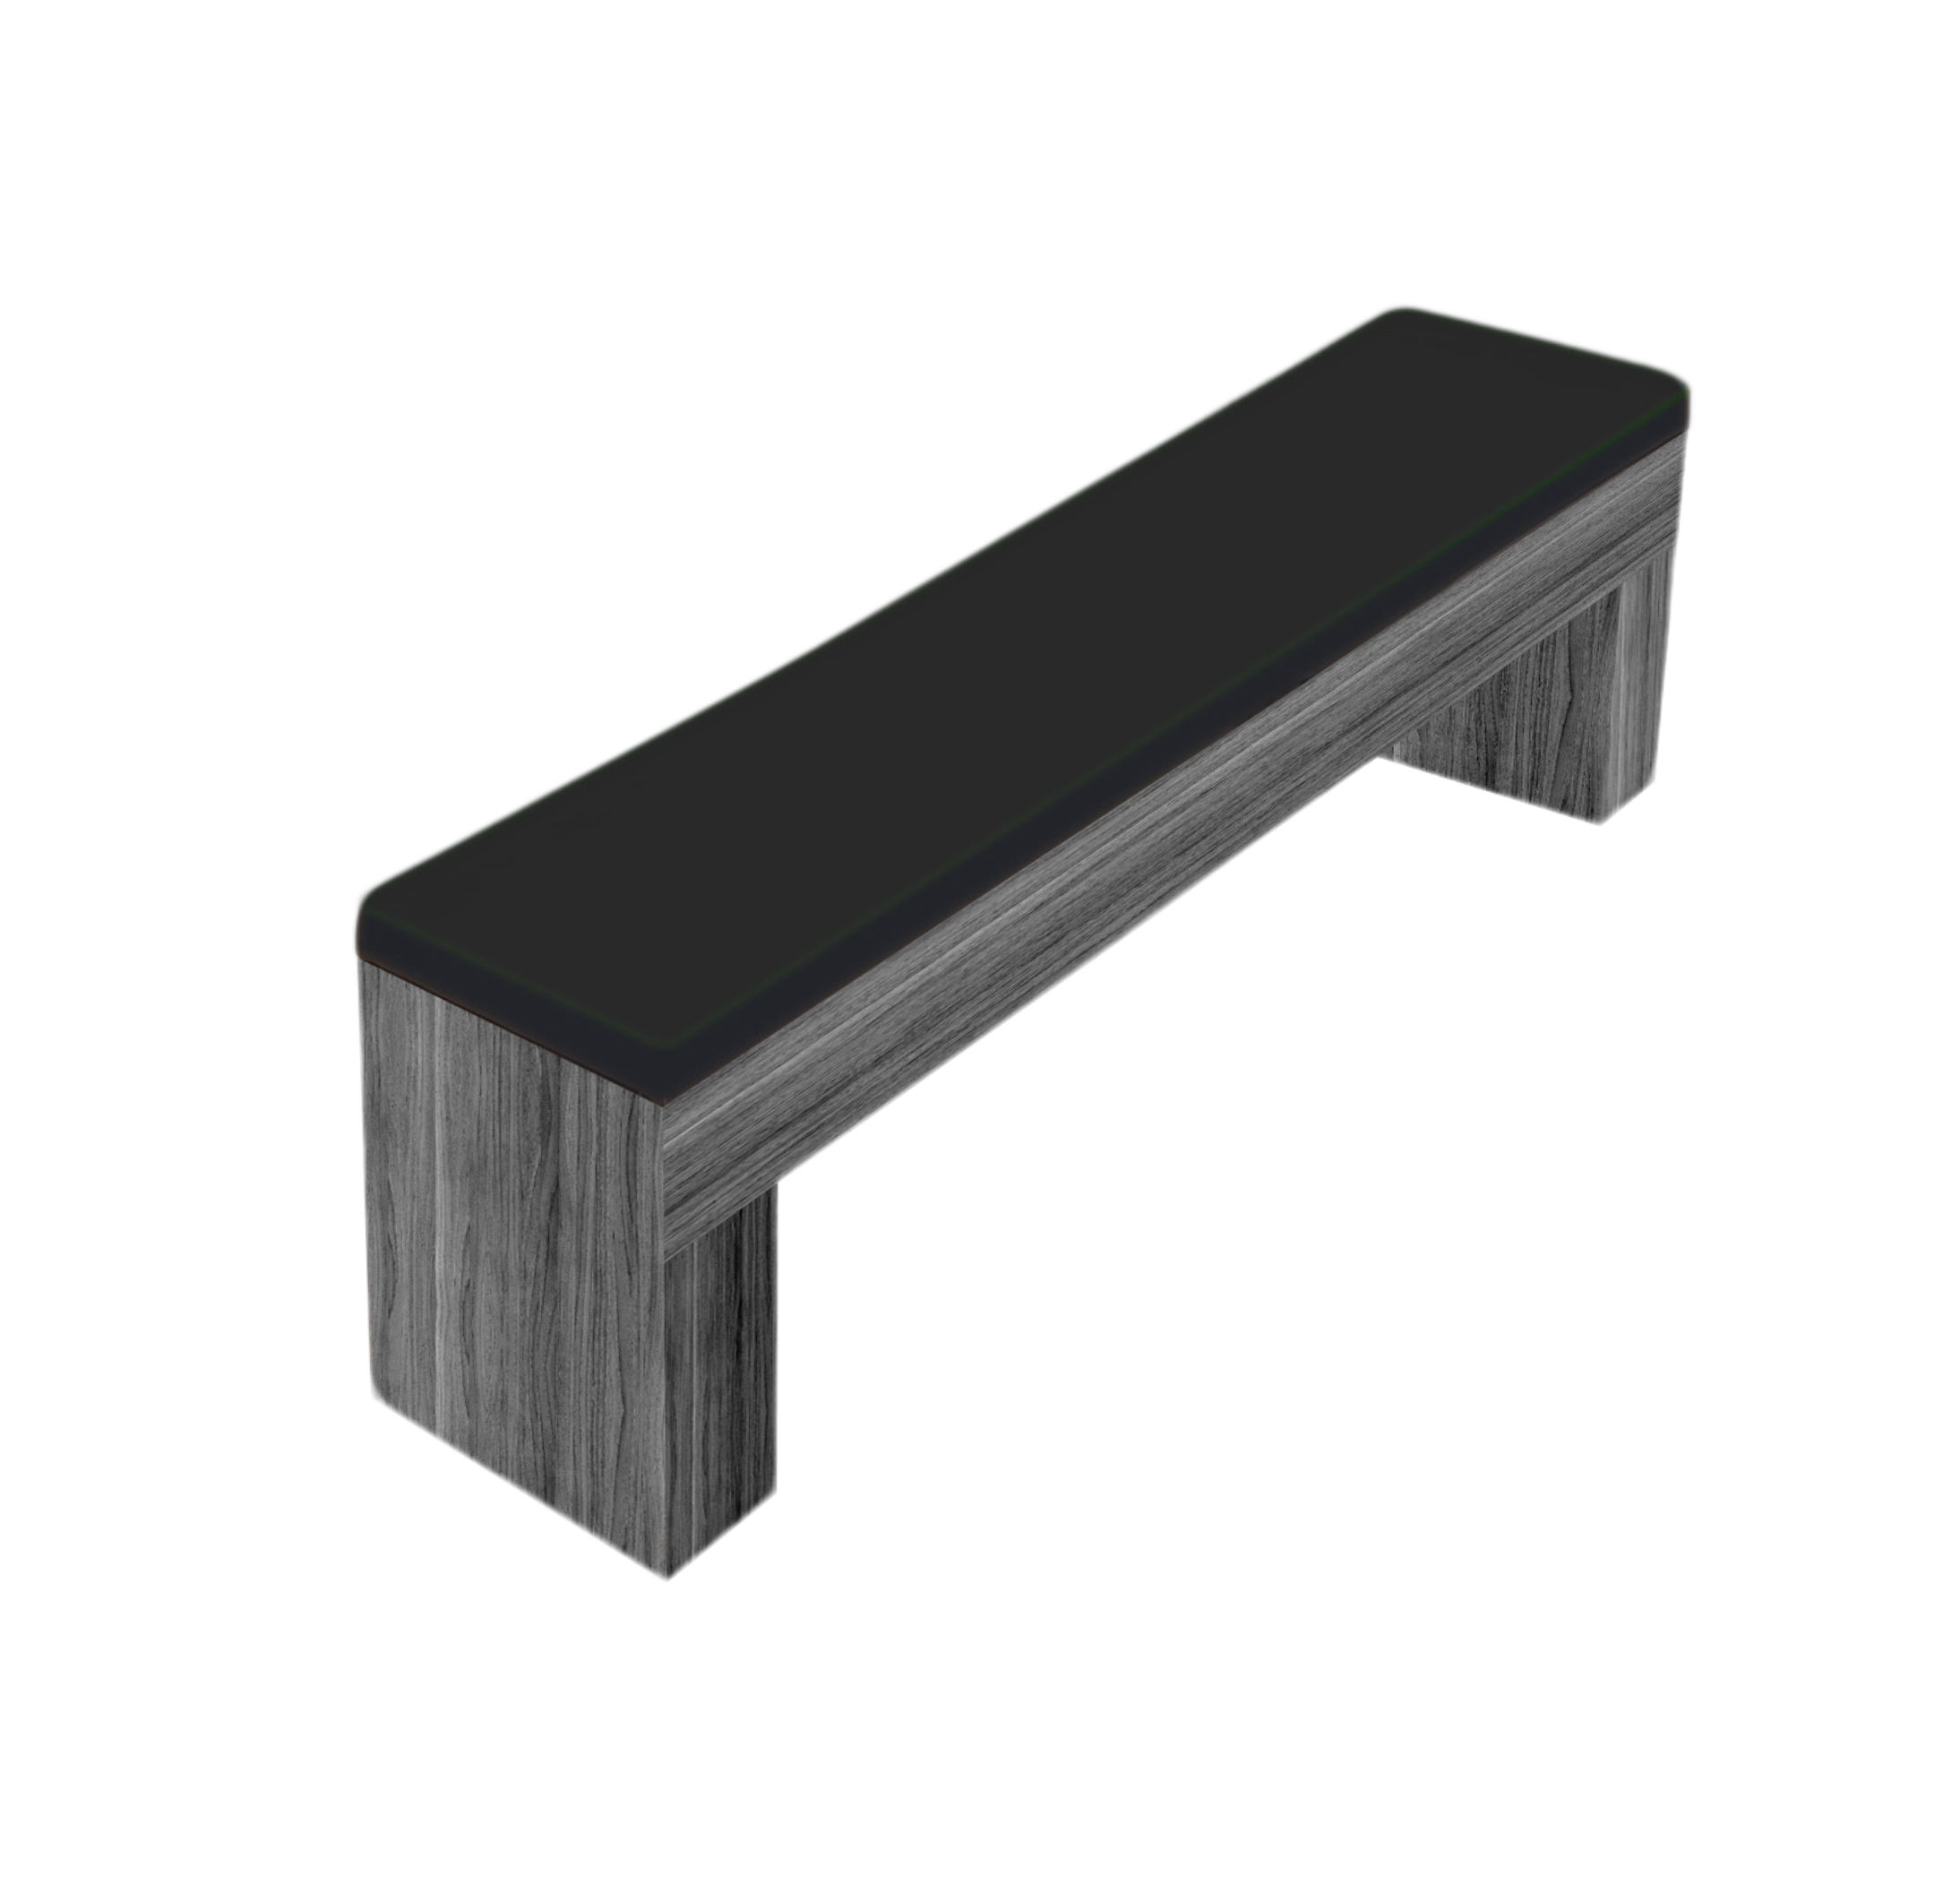
7-in-1 Games Table Bench
Instructions for assembling, installing, and using the 7-in-1 Games Table bench. It includes safety advice, operational guidelines, and maintenance tips.
Product Information
This versatile bench is designed to complement our 6-in-1 games table with dining table option, offering a stylish and practical seating and storage solution. Available in both Oak and Grey finishes, it blends seamlessly with a range of interiors.
Safety Information
Ensure you have read and fully understood the instruction manual and safety advice before using this product
- This bench is designed for indoor use only; do not expose it to outdoor conditions such as rain, direct sunlight, or damp environments, as this may damage MDF and PU leather materials.
- Only use the bench on a stable, level surface to prevent tipping, wobbling, or instability during use.
- Always position the bench in well-lit areas, away from main walkways or areas where people may trip over it when not in use.
- Assemble the bench fully in accordance with the provided instructions, using only the supplied hardware and recommended tools; ensure all fixings are secure and recheck them periodically.
- Do not attempt to modify, adapt, or remove any part of the bench, including the hydraulic struts, hinges, cushion, or frame.
- Do not exceed the maximum weight capacity of 190kg for the entire bench, including seated users and stored contents; always distribute weight evenly.
- Always open and close the lid slowly and under control; keep fingers, hands, and clothing clear of hinges and strut areas to avoid entrapment.
- Ensure the hydraulic struts are securely fixed and functioning properly before use; discontinue use and replace struts immediately if they are damaged, leaking, or loose.
- Do not force the lid open or closed, as this may cause damage or sudden lid failure.
- Do not sit or apply weight on the bench lid when it is open; always close the lid fully before sitting on the bench.
- Always sit centrally on the bench, not on the edges or ends, to prevent tipping or instability.
- Children must be supervised at all times when the bench is in use; do not allow children to play on, under, or inside the bench.
- Take care when sitting down, as the PU leather surface may become slippery, especially if wet; keep the cushion clean and dry at all times.
- Keep the bench free from sharp objects or debris that may damage the PU leather or cause injury.
- Do not attempt to move or lift the bench while someone is seated on it; when moving, lift with adequate assistance and do not drag or push, as this may damage the structure.
- Avoid exposure to heat sources, open flames, or smoking materials near the bench, as MDF and PU leather are flammable.
- Regularly inspect the bench for loose fittings, weakened joints, or signs of wear, and repair or replace parts as necessary before further use.
- Dispose of all packaging materials responsibly and keep them away from children to avoid suffocation or choking hazards.
GPSR Information
UK GPSR Information
Monster House 19-23 Alan Farnaby Way
Industrial Estate Sheriff Hutton
York YO60 6PG
England
+441347878880
Monster House 19-23 Alan Farnaby Way
Industrial Estate Sheriff Hutton
York YO60 6PG
England
+441347878880
EU GPSR Information
Van Heemskerckweg 28A & B
-
Venlo 5928LL
Netherlands
+441347878880
Van Heemskerckweg 28A & B
-
Venlo 5928LL
Netherlands
+441347878880
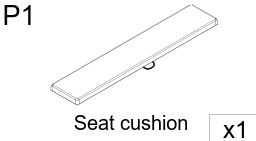
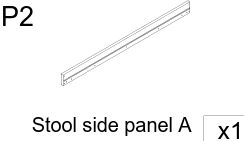
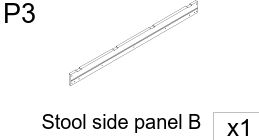
Included Parts


Walkthrough
Check that all parts and hardware are included.
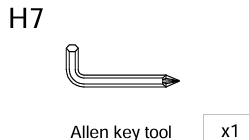
- Use the Allen key (H7) provided for bolts.
- Lay out pieces on a flat, clean surface.
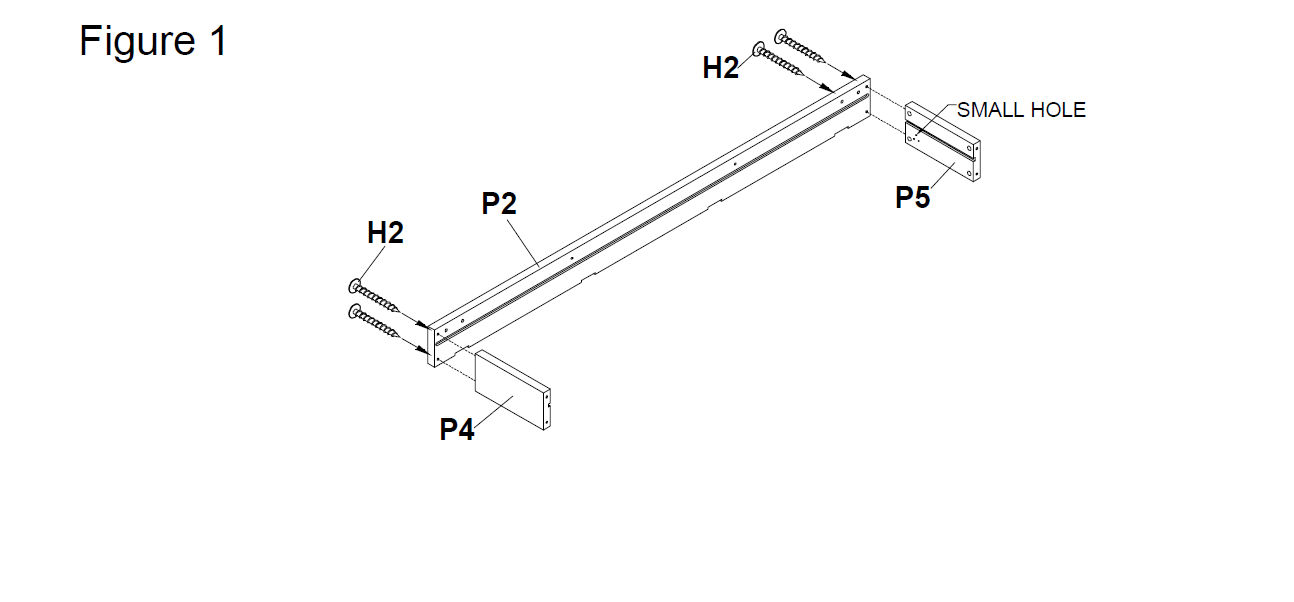
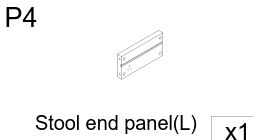
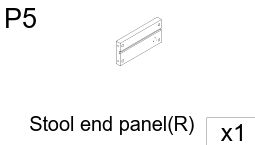
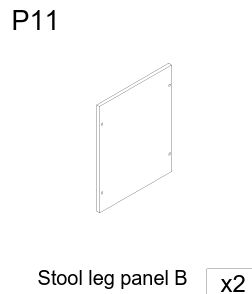
- Connect Stool Side Panel A (P2) to the Stool End Panels (Left & Right – P4 & P5).
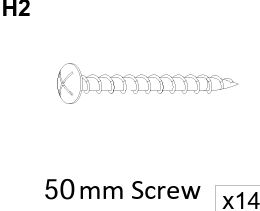
- Use 50mm screws (H2) to secure them as shown in Figure 1.

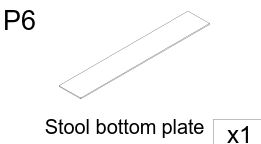
- Insert the Stool Bottom Plate (P6) into the frame.
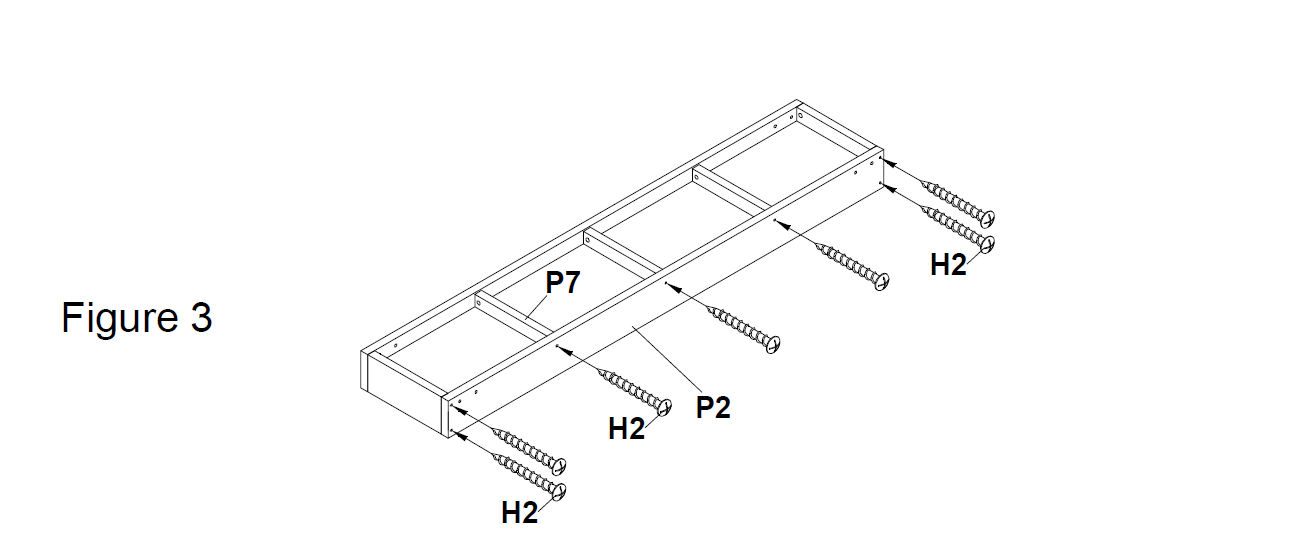
- Secure it with 50 mm screws (H2) through the pre-drilled holes (Figure 3).
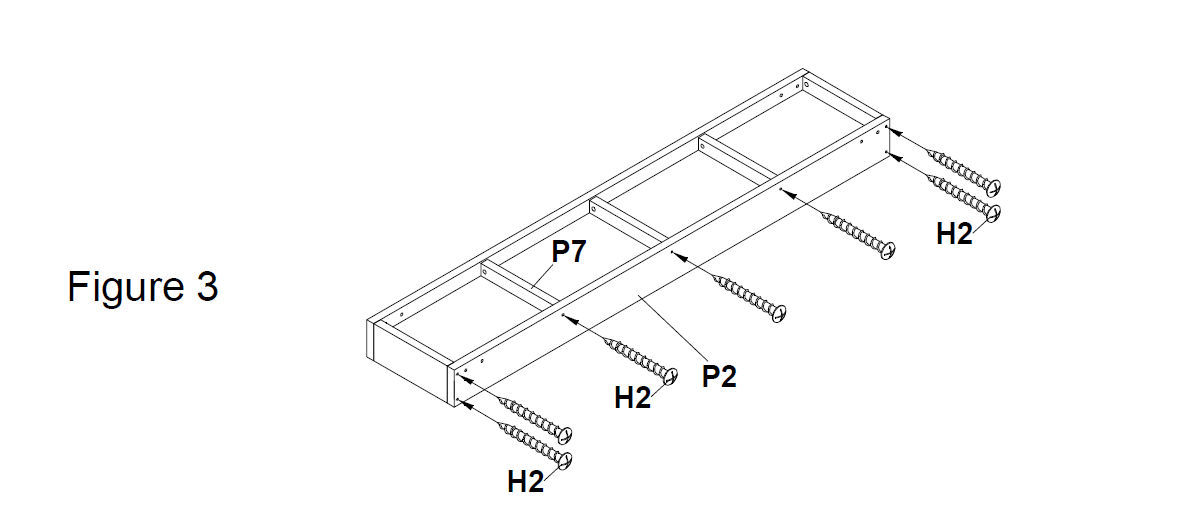
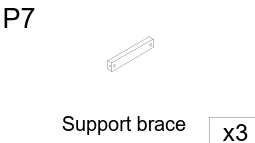
- Use 50mm screws (H2) to attach the Support Braces (P7) across the underside of the bench. (Figure 3).
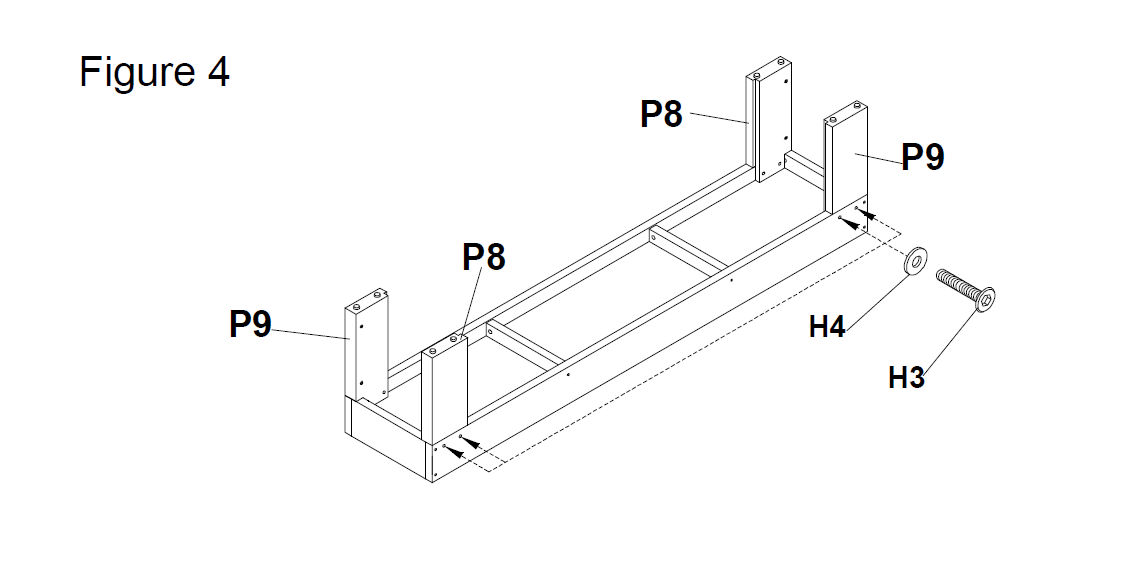
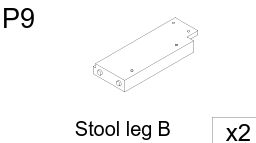
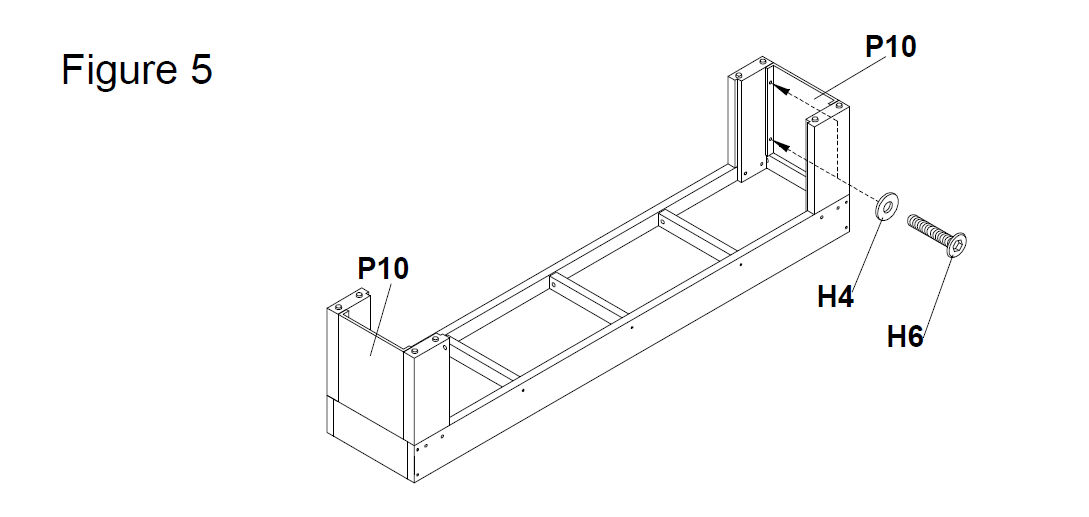
- Connect Stool Leg A (P8) and Stool Leg B (P9) to the structure.
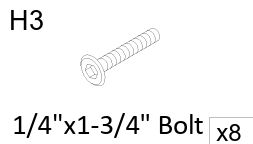
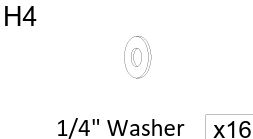
- Secure them using 1/4" Washers (H4) and 1/4" x 1-3/4" Bolts (H3) through the pre-drilled holes (Figure 4).
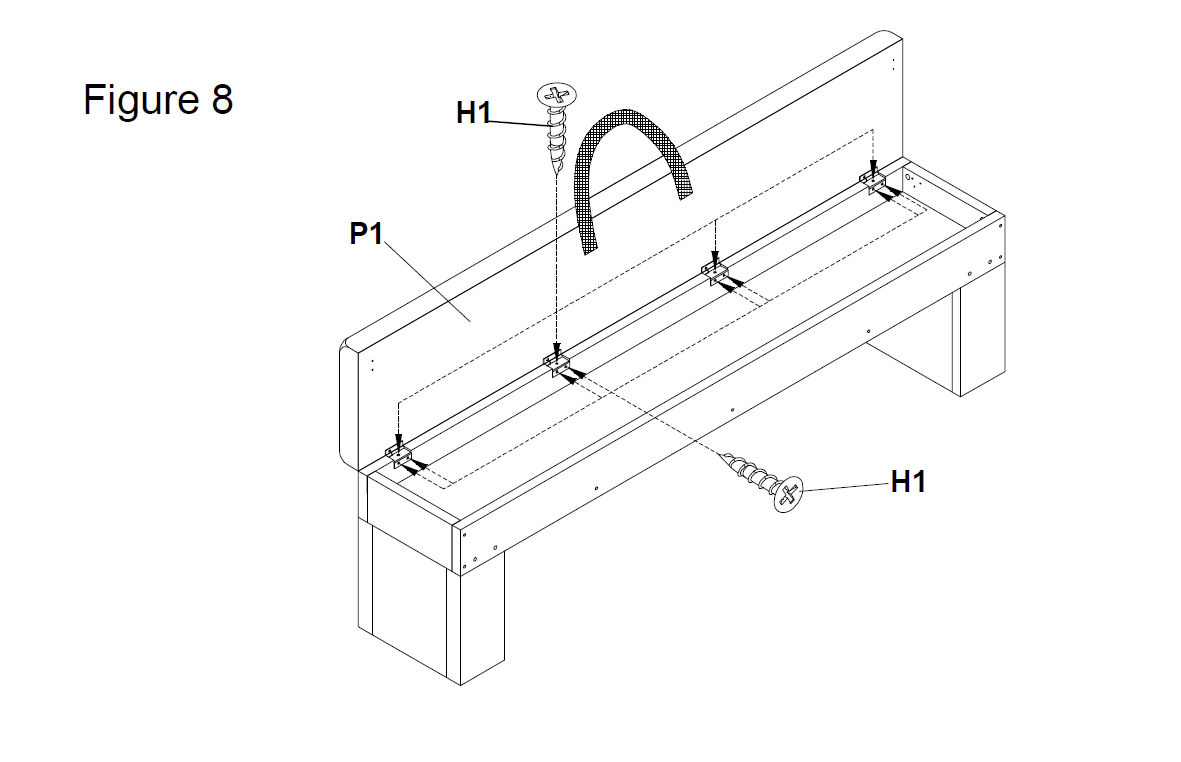
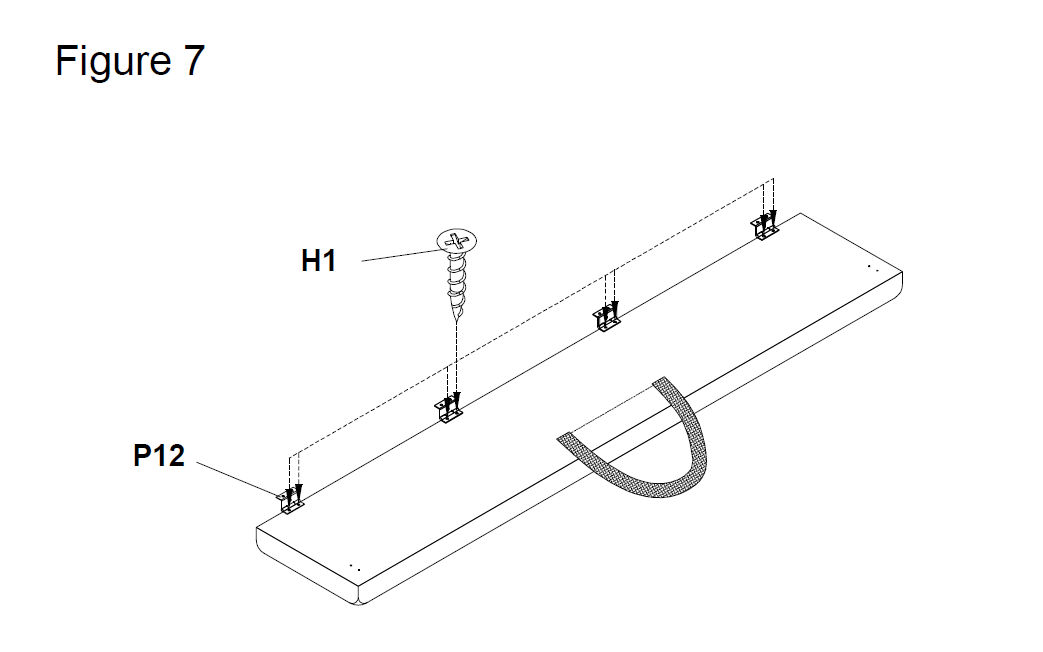
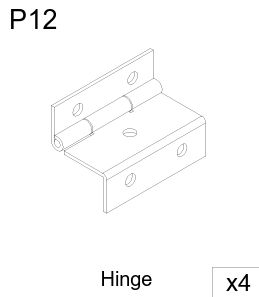
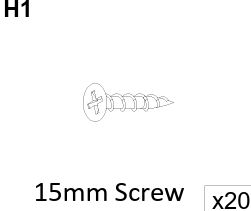
- Fix the hinges (P12) onto the inside of the seat panel (P1) using 15mm screws (H1) (See Figure 7)
- Fix the other side of the hinges (P12) to the bench frame using 15 mm screws (H1) (See Figure 8)
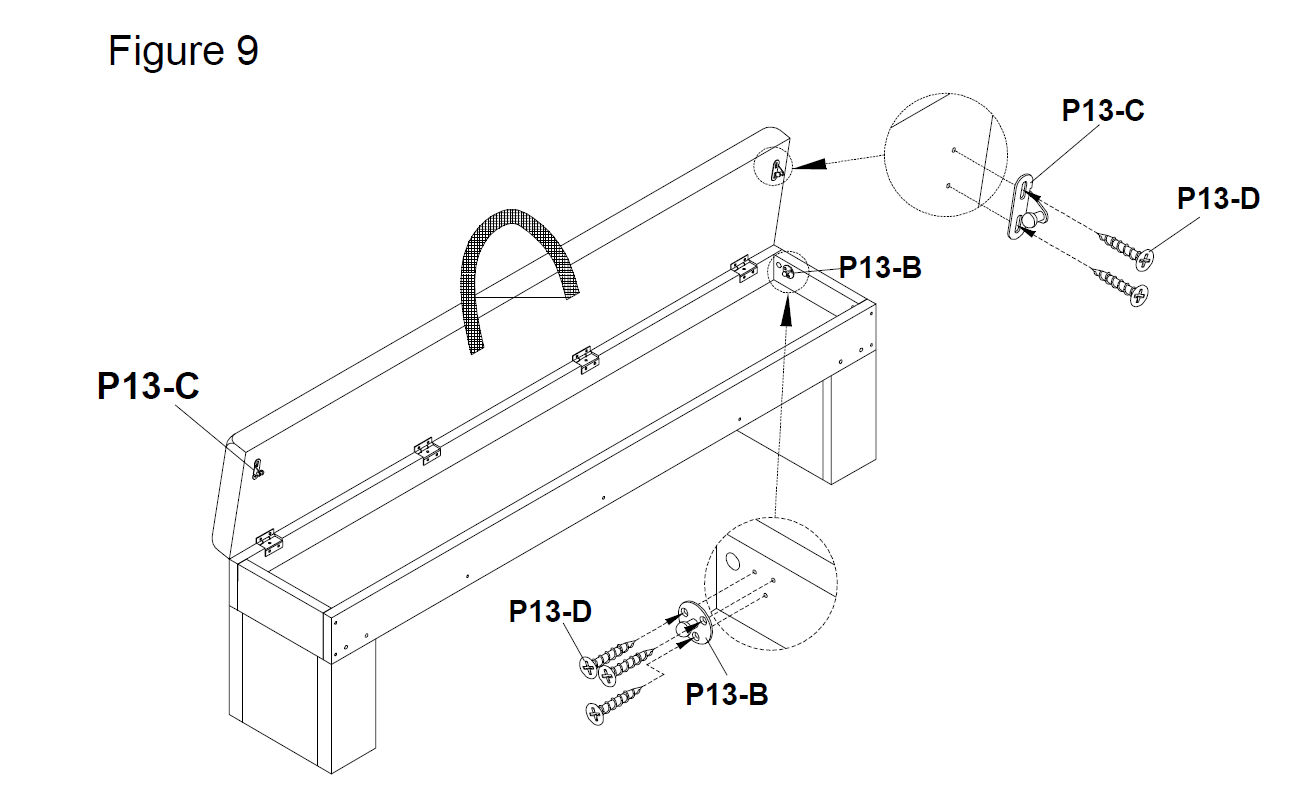
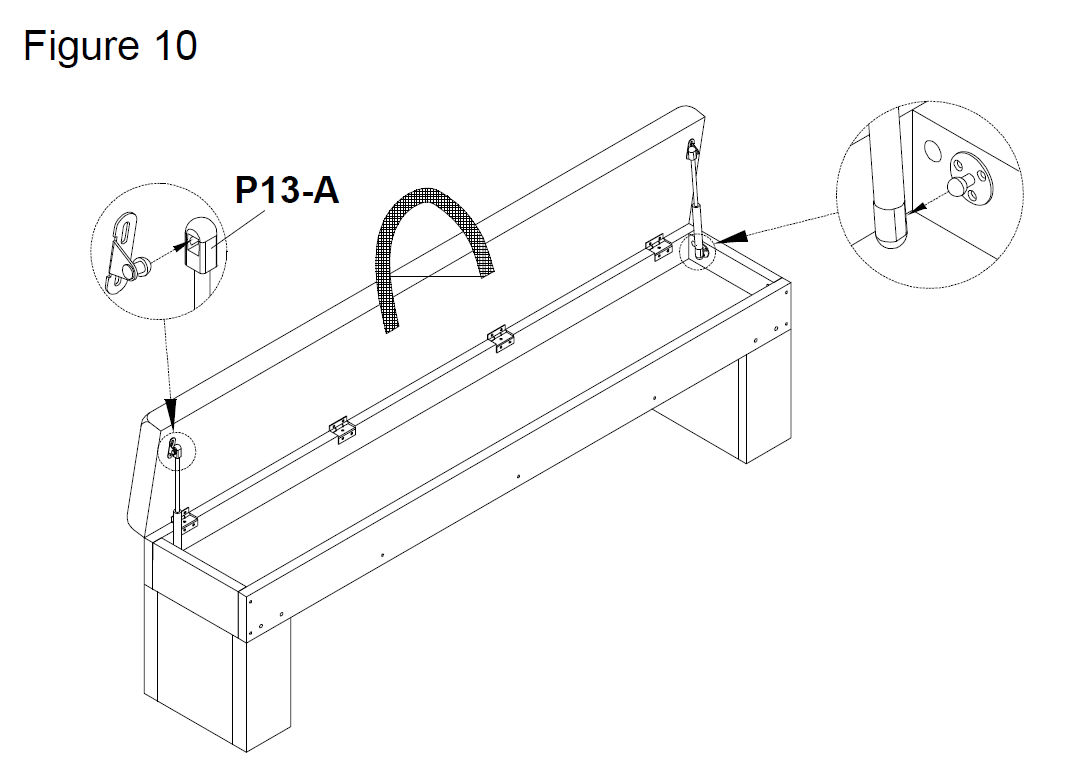
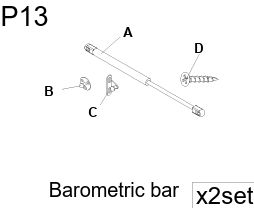
- To attach the Hydraulic strut (P13) see Figures 9-10.
- First, position part (P13-C) to the inside top corners of the seat panel and secure each in place with screws (P13-D).
- Then attach part (P13-B) to both stool end panels (P4/P5) using screws (P13-D).
- Finally, see Figure 10, to fix part (P12-A) to parts (P13-C) and (P13-B).
- Do not use cleaning products containing ammonia, bleach, or solvents on the bench. Wipe clean with a damp cloth and mild detergent only.